Inspirations

Inspirations
The color you see is the color you get!

Saturday, September 24, 2011

charming...

Hello everyone!

Me again with a fun way to make customizable charms. 

Way back in March, I did a tutorial on alterable jewelry.  Well, as I was making those bracelets, I ended up taking one link off each to make them smaller. I kept those extra links in hopes of finding some fun way to use them. This week I needed a charm for a mini album, and I remembered these extra links....

Here's what you need:
Alterable Jewelry*
Clear Embossing Powder
Metal Pan (heat safe, not for food!)
Non-stick craft sheet
Tweezers
Metallic Accents
Flowers (or other flat things to embed)
Stove (or Ranger Melting Pot)

*I am using a "Keepsake Bracelet" made for putting photos in. I found it at a variety store for about $2.00, I have also seen this kind of thing in the clay isle of craft stores.

 Step 1: Cut a piece of non-stick craft sheet to fit in your metal pan. (I'm using a cheap metal tin meant for party favors, but it has a flat bottom and holds up to the heat.)

 Step 2: Figure out how you want to arrange your decorations. I'm using tiny paper flowers and Metallic Inspirations. 

 Step 3: Once you know how you are going to arrange things, place your charm in your pan and turn on your burner to LOW.  (each stove is different, so experiment, however if it is too hot, the powder will burn.)  The Ranger Melting Pot is specifically made for melting embossing powders, so if you have it, use it instead of the stove.

 Step 4: Once the charm is warm, sprinkle on a little clear embossing powder. Allow it to melt, then add more until you have a thin layer across the entire bottom of your charm.

 Step 5: Using your tweezers, carefully place in your embellishments.

(if layering embellishments, add a thin layer of embossing powder between elements to fuse them together.)

 Step 6: for extra bling, add  Metallic Accents. (you can use rhinestone, but they will stick out. The beauty of using Metallic Accents is they add the bling element without adding hight!!!)

 Step 7: Add a layer of embossing powder over the whole collage to seal it all in, and remove from heat.

*ALLOW TO COOL before handling!!! Don't get burnt!!!!!

This would look fabulous as part of a bracelet, but I'm going to cut one of the loops off and use it as a charm. 

So, there's a fun new way to use Metallic Accents in your crafting!

Enjoy!

Friday, September 23, 2011

use it...

Hello everyone!
It seems it is once again my turn to share a quick tip!

Do you remember this quick tip I shared a few weeks ago on coffee filters?

Well, why not take it a step farther?  When you use a coffee filter to paint in, don't just chuck it, use it!
(Don't misunderstand... I don't mean use it in your coffee maker!!!)

What I mean is, coffee filters can make great embellishments!

After getting this coffee filter all colorful, I stamped a couple of butterflies on it, cut them out, and layered them. It has a softer feel than if you did the same thing with regular paper.... So much fun!

Enjoy!

Thursday, September 22, 2011

A Charmed Birthday

I received an awesome birthday present from my son and DIL!  In it was this wonderful paper kit that I used for my card today.  I found that Rustic Red Creative Inspirations Paint was the perfect color to paint the frame and I even used it for the tips of the crochet flower.  I also used some Jeweled Inspirations on the frame. And then I added my charm to the tag.

If you would like to see what inspired my card, you can visit my blog.
Thanks for joining us; we love to see what you have created.   Have a great day!

Wednesday, September 21, 2011

Got Charms?


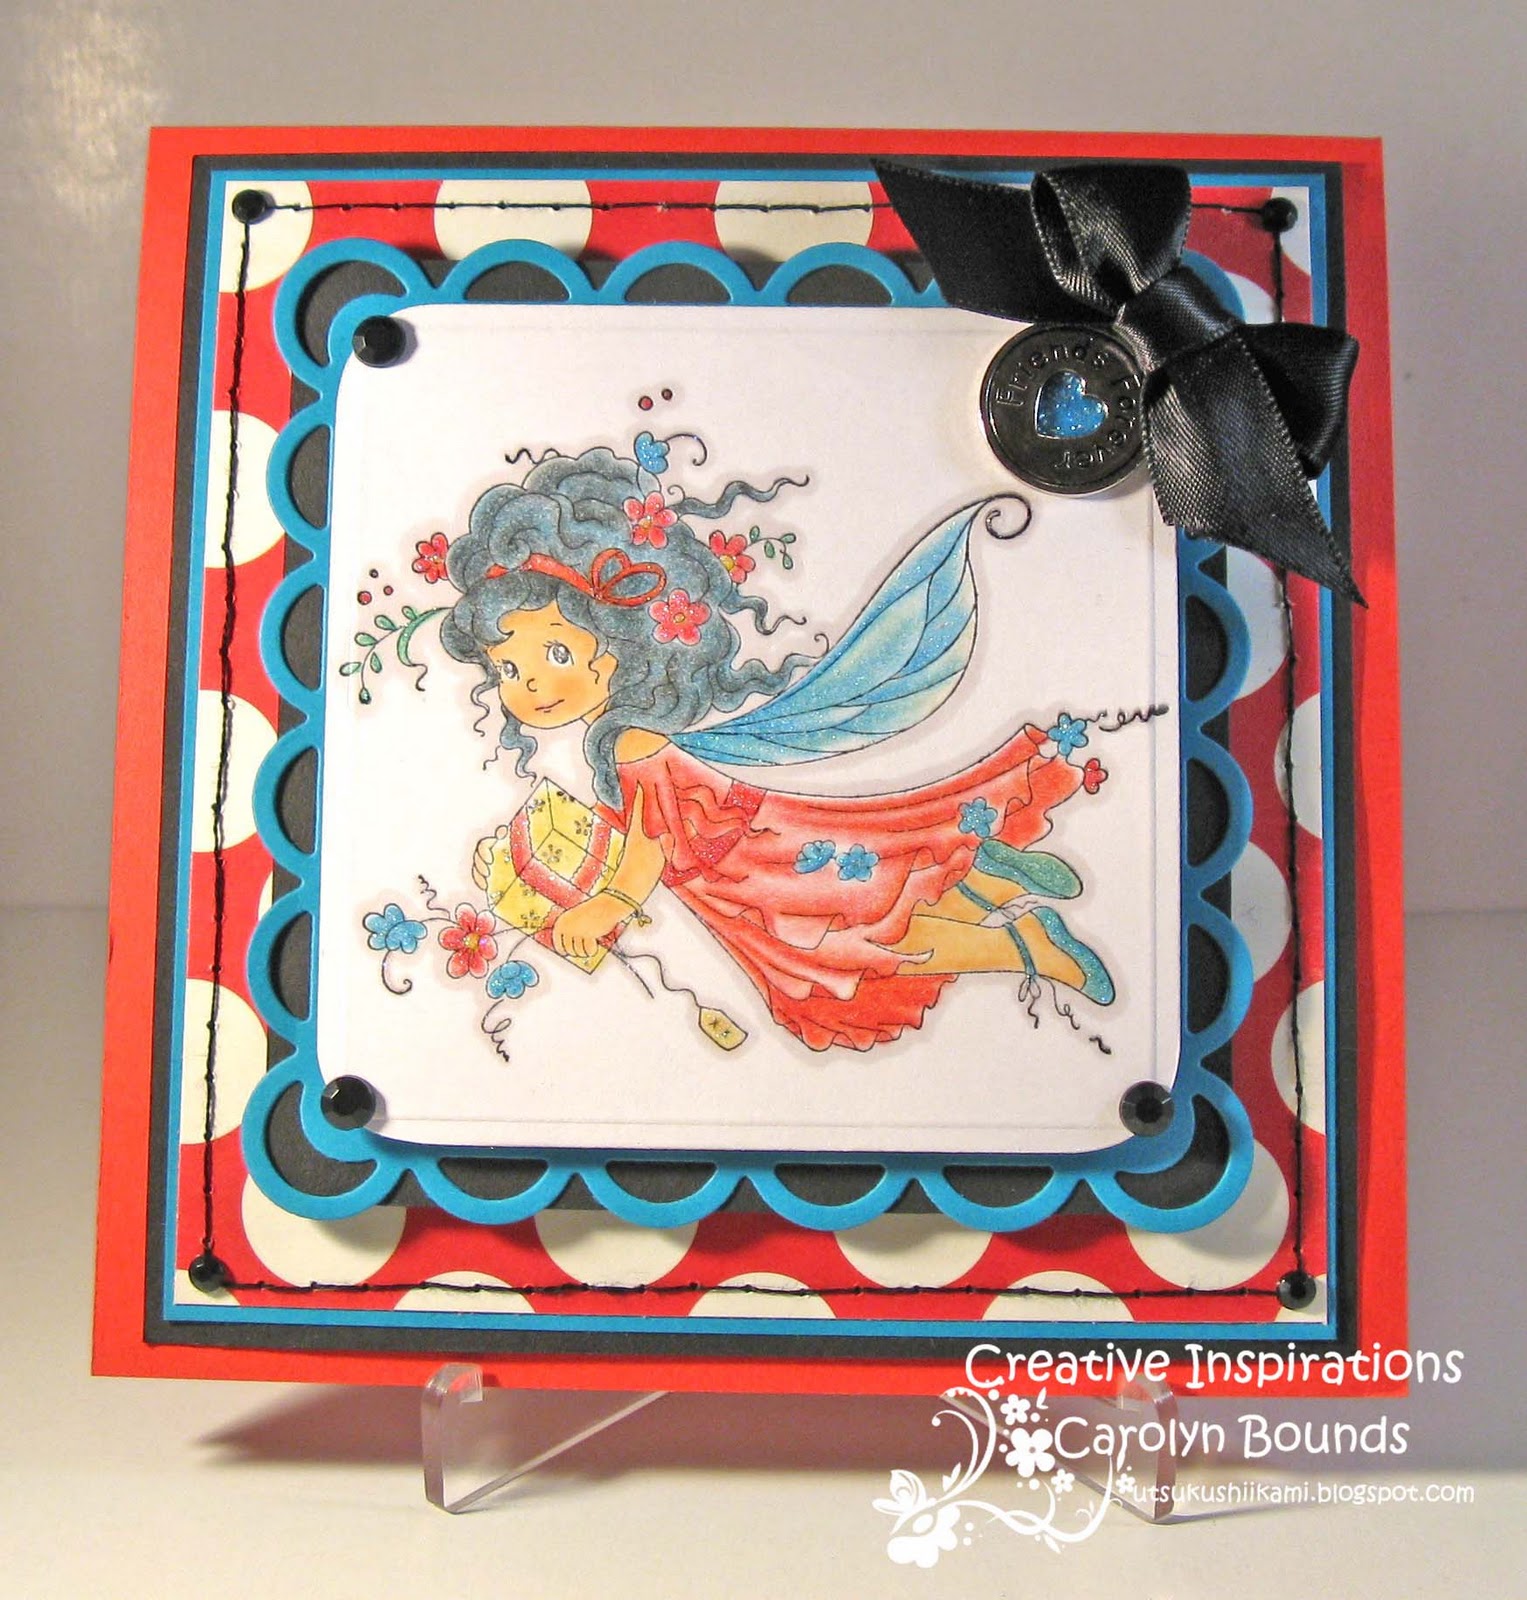
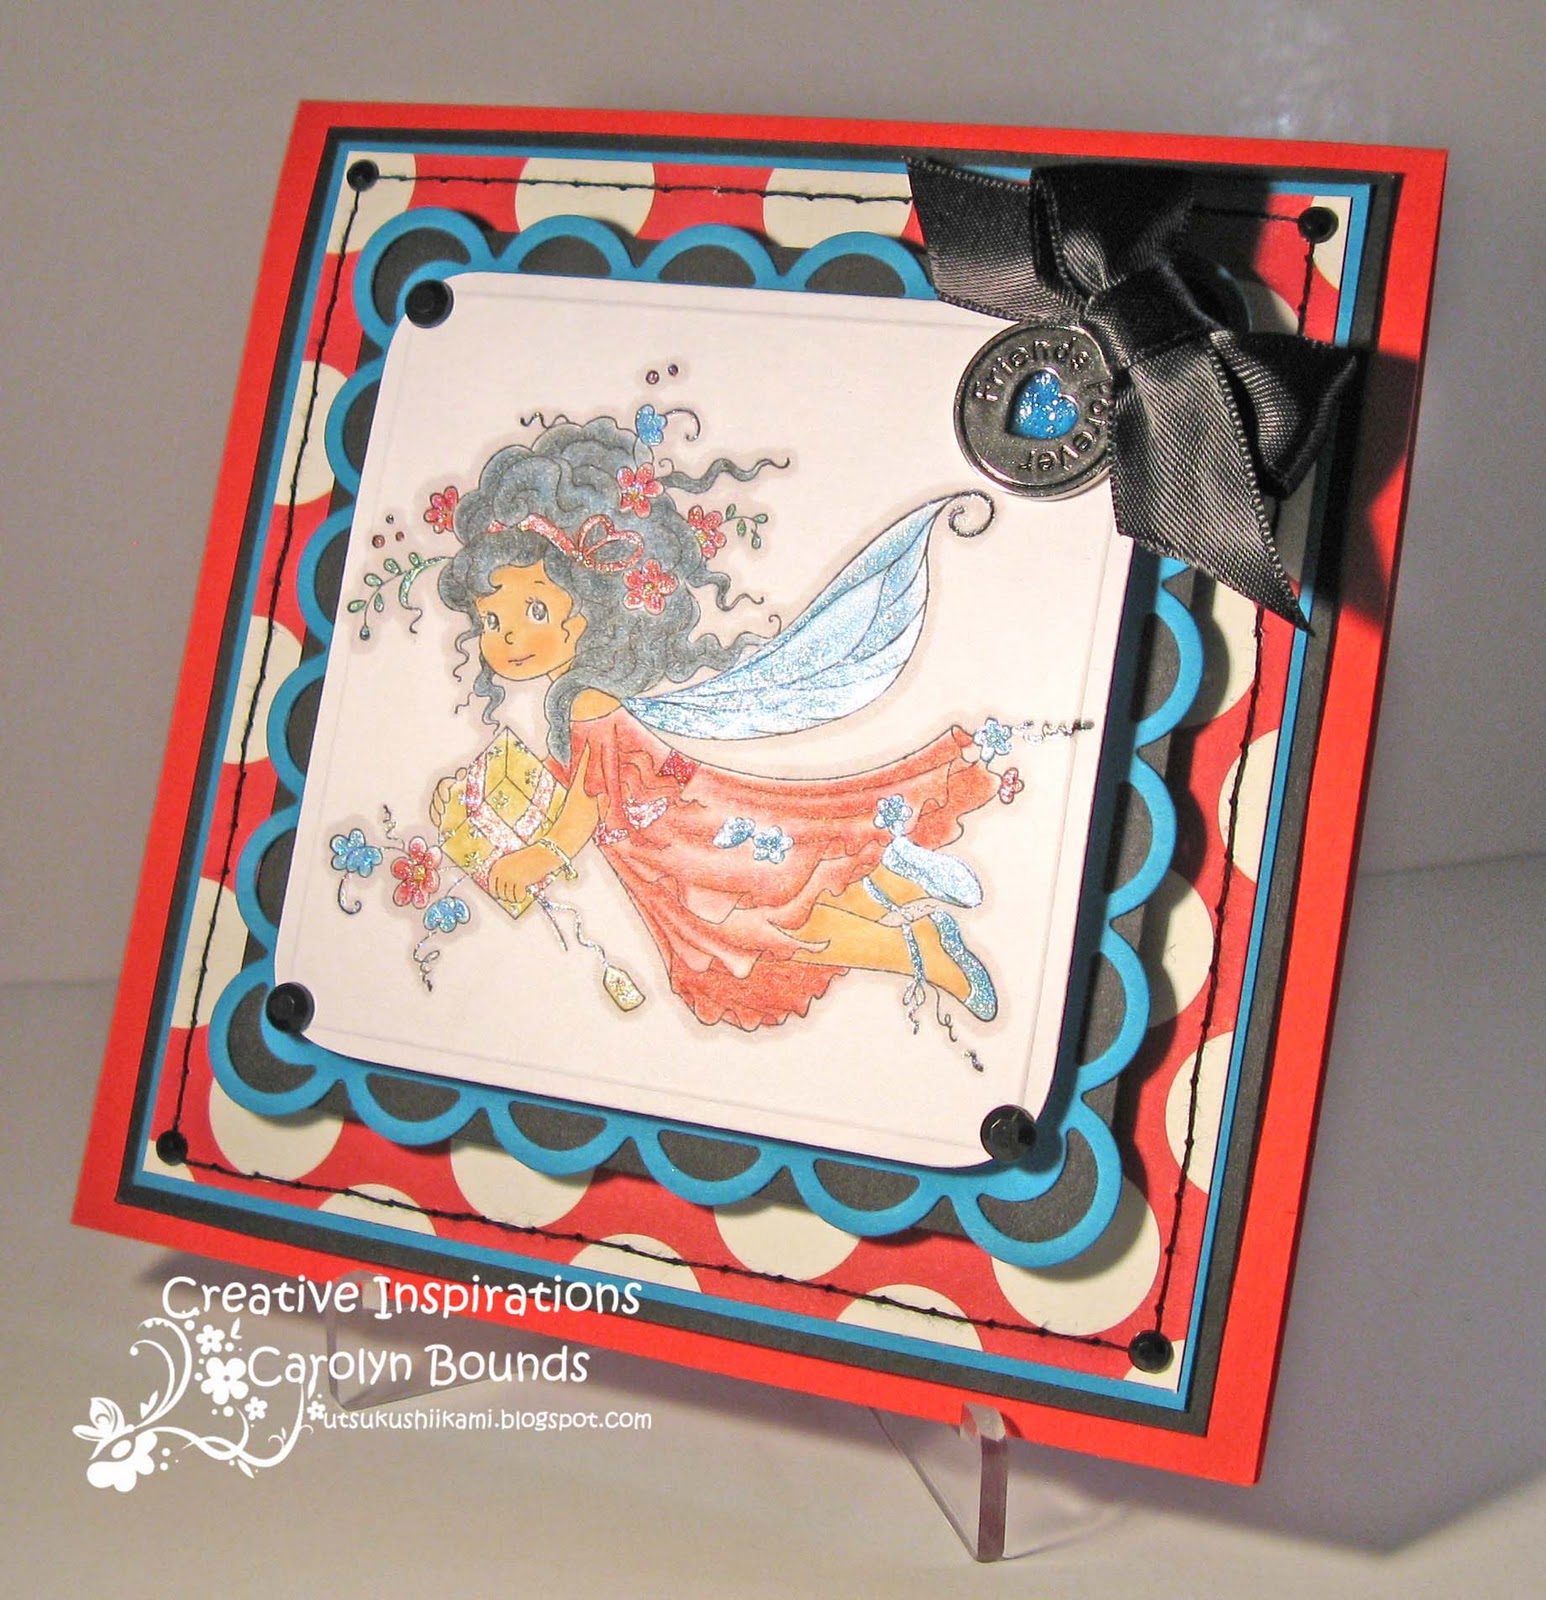
Happy Wednesday!!!! When I saw this  week's Creative Inspirations Challenge, I knew exactly which image I wanted to use - Precious Present by Sylvia Zet for SCACD Stamp Co...not just because CI Paints are awesome for coloring wings...but because...I'll tell you in a bit... ;o)The paints also give any creation that heavenly sparkle I love so much. :o) For today's card, I paired Fairy Dust and Sapphire. The pic below shows all the fabulous shimmer the paints create when light hits it. It's hard to believe a paint can create such brilliant sparkle, but CI Paints do!


I have been holding onto this "Best Friends" charm for quite some time now, and it was time to put it to use. What better encouragement than being challenged to "Use Charms"? Don't you love it when a challenge inspires you to use those neglected goodies you almost forgot about? I know I do!!

Now, onto why this week's particular challenge made this my "go to" image... I can't really explain it, but she reminds me of Wonder Woman, hence the color palette. I know WW couldn't fly...she had her invisible plane to take care of that. Maybe it's the hair...I think that is it. Well, most of my BFFs (this is where the charm comes in) remind me of Wonder Women...they do it all and make it look effortless. I'm sure you can relate. Now, you can see how a simple challenge - focusing on one, little element - can inspire creativity. Hopefully, you have been inspired to show your CHARMing creations with us in this week's Creative Inspirations Paint Challenge.
Blessings and Hugs,
Carolyn

Tuesday, September 20, 2011

Charming

Well, the challenge is charms, so I decided to experiment again. I wanted to see if CI paint would work with Tim Holtz's technique with fragment charms. Yes, it does. To make my charms I used a floral background stamp from Stamp Camp stamped on a piece of My Minds Eye design paper. I painted the image. Then I took fragment charms of different shapes and sizes and placed them over flowers on the image. The fragments were adhered to the image using glossy accents. Once dry the charms could be cut out. I decided that since I had charms, a charm bracelet would be the perfect place to show them off. So a length of chain, a few jump rings, the charms, and a clasp later, I had a lovely charm bracelet to share with you. And the shimmer from the paint shows through divinely.
Barbara Washington -- designer

Monday, September 19, 2011

Flower Fun

Good morning!  Hope you had a wonderful weekend!!

Kendra her with a simple project this morning that was so fun to make for my little girl....
....pretty silk flowers for her hair with a ton of shimmer and some bling!


And I just had to share some images of her showing it off......
She thought it was pretty cool!  She kept pointing at it and saying "Oooooo!"

Look at the shimmer!!
I used "Lavender", "Plum" and "Royal Purple".

I'll be making more of these!!  Have a nice day!

Kendra

Sunday, September 18, 2011

CI Paints Inspired By: Charms


Thanks to all those who joined in last week and shared their creations inspired by "Ribbon"!  What another great challenge turn out!  We appreciate all your entries!!  What some wonderful inspiration!
---------------------------------------------

Each week you will be given a challenge to find inspiration in/from what ever the challenge theme is... you can be as literal or abstract in your inspiration as you want....Just make sure you can tie it back to the theme! Challenge closes at 4:00pm Eastern on Saturday.

You will always be able to jump back to the current challenge by clicking the "Current Challenge" link in our sidebar. The rules can always be found by clicking the tab "Challenge Rules" at the top of the page.

You do not need to use the Creative Inspirations Paints in your project, however, if you do, tell us which colors you used, and your name will go in the drawing twice! Each month, one person will win 5 jars of paint in the colors of their choice. The winner will be randomly drawn from all the people who have played that month, so make sure to join in on our challenges each week!

---------------------------------------------

This week's challenge is:

Inspired By: Charms

Here's a card for some inspiration:

I used some CI Paint "Mellow Yellow" around the yellow parts of the word baby.

Have a great week!  Join in for your chance to win some paints!

Kendra

---------------------------------------


Inspired By: Ribbon Random.org Top 3

Thanks to those who joined us last week for our "Back to School" challenge!  What some great projects!

Here are the Random.org Top 3 Picks:

SSIC-The-seed-of-friendship


#12 Dawn


Beautiful work ladies!

You each will receive an extra entry in our September drawing for some CI Paints of your own!

You can grab this badge for your blog:

Saturday, September 17, 2011

riverside beauties...

Guessing game... what are these?

If you don't know, don't feel bad. A month ago, I wouldn't have either.  
Believe it or not, they are fish scales. Gar fish scales to be a little more precise. (ok.. random trivia from Wikipedia... Native Americans used Gar scales as arrow heads. VERY COOL!)

Anyway...

What does that have to do with today's tutorial?
Well... we're gonna paint them!  They make fabulous flowers that are always unique! 

here's what you need:
Gar Scales (I got mine off ebay)
Creative Inspirations Paint
Sticky Notes
Decoupage Sealant 
Non-stick Craft Sheet
Strong Glue*
Jeweled Inspirations (I'm using Clear 30)

*You want to use a really strong glue. I tried Glossy Accents (which I use for everything!!!) and it didn't work. So, I use Beacon 527. It says on the tube it works with shells, so it works for this. *

 Step 1: Find your petals. Gar scales come in varying sizes and irregular shapes. No two are the same. Play around with the scales until you find some that fit together a way you like. It is kinda like putting together a jigsaw puzzle, except there is no right or wrong way. =)

 Step 2: Line your chosen scales up on the sticky strip of your sticky note. This will make painting a ton easier because you don't have to hold individual scales, and you won't be chasing them around your table with your paintbrush. 

 Step 2: Paint on your first layer of CI paint, and let it dry. Yes, it looks bad. Don't worry, we'll fix it. 
I'm using Lavender here.

 Step 3: Paint on a second coat and let dry. The scales should look much better now. 
*You can paint a third coat if needed.

 Step 4: Seal your paint with a decoupage sealant, and let dry. This gets kinda messy, so I take the scales off the sticky notes so they don't get glued on. =)
*notice the super secret magic tool I told you about yesterday?

Step 5: Put a blob of glue on your non-stick craft sheet. 

 Step 6: Arrange your petals over your dot of glue. 

Step 7: Add another dot of glue over the center of your petals to ensure they are all glued in.

Step 8: Add a Jeweled Inspirations stone to the center to hide all the glue. 

Let dry, and you are ready to use!

These make fabulous embellishments, jewelry, and home decor! I've seen red ones used as poinsettias on Christmas tree ornaments... So many possibilities!

Enjoy!

Friday, September 16, 2011

super secret magic tool...

Hey everyone!

Today's quick tip involves these...

Yup, paint brushes. However, these are no ordinary paint brushes. These are my super secret magic tool... 

ok, not really.

They're actually super cheap brushes from Walmart. ($2 for a bag of 30)
These brushes really are a fabulous tool though. Normally, when I'm are talking painting, I say you get what you pay for. Spending a little more money for a really good paint brush really can make a huge difference. However when you want to paint something with glue.... GO CHEAP!  I can afford to use and toss a 6 cent brush, I can't afford to replace expensive brushes all the time because they got ruined with glue. 

So don't ruin your good brushes! Keep those brushes nice for your CI paintings!

~Kassi

Thursday, September 15, 2011

Puff Box for Diana

Good morning, folks! It's Holly posting today, and I've got a personal project to share with you today. A group of dear friends decided to hold a puff box swap, and this is the box I created for my "puff-ee."

A puff box is basically a customized box that you create for a person who is assigned to you. The box can be anything - a wooden box, a papier mache box, a rigid plastic box, even a heavy duty bookboard box. The box is decorated using the "puff-ee's" favorite colors, favorite flowers, favorite literary characters, anything that is personalized to that person.

Inside the box are the puffs. Puffs are little papers with quotes, Scripture, jokes, inspirational sentiments, or poems all typed up and decorated. We were required to have a certain number of puffs, but I know most of the gals in this swap went WAY over that number just because they couldn't decide which puffs to include and which ones to weed out.


I was assigned to make my puff box for a sweet gal named Diana. I wanted to use this fun wooden lunch box from Hobby Lobby, and I painted it with acrylic paint and let it dry. Then I used some patterned papers and some fun flower stickers and added those randomly all over the box. I painted some chipboard letters with the gorgeous Rose Quartz paint from Creative Inspirations Paint - love that shimmer! I also added some of the clear Jeweled Inspirations (also from Creative Inspirations Paint) in various sizes in the centers of my flowers and the edges of the name plate.


Did you know that this week's challenge on the Creative Inspirations Paint blog is "Inspired by Ribbon?" Think I have enough ribbon on here for that challenge? LOL


Go check out the challenge and share your be-ribboned projects with us. You could win some free Creative Inspirations Paint just for sharing. You will love these yummy, creamy, shimmery paints. :-)

Have a wonderful day!

Wednesday, September 14, 2011

"Chocolaterie" window for Magnolia Ink - Kianel

Hello,
Kianel here with you today to show you a "chocolaterie" window i made for the last Magnolia Ink issue. Everything is handmade and covered with Creative Inspirations paints "gold" "autumn wheat"  "rose quartz" "burgundy" "chocolate" "beige".
 You can visit my blog if you want to see more details.


Have fun creating with the marvellous Creative Inspirations paints and don't forget our challenge each sunday.
Love from France, Kianel.

Tuesday, September 13, 2011

By The Light of The Silvery Moon...

Good morning everyone, Carole here today! About that title...my 17yo daughter made do it! She said the moon needed to be silver, so my black cat appears before an Antique Silver moon.

Here's a close-up of the moon. Sometimes it's really hard to capture in a photograph just how prettily the paints sparkle.I'm keeping it simple today because my middle daughter turns 15 as of 1:52am! Hope everyone has a fabulous day.

Monday, September 12, 2011

Happy Birthday


Hello, Beth Norman here with a birthday card for you. These tiny inchies were painted using:
turquoise
tickled pink
lucky lemonaide
chocolate brown

My stamp set is Crab & Co from Stampin Up.

I hope I inspired you.

Sunday, September 11, 2011

CI Paints Inspired By: Ribbon


Thanks to all those who joined in last week and shared their "Back to School" creations!  We had 26 entires!  That's a good start for the month!  Keep showing us your wonderful creations!

I still can't believe it is that time of year already, where did summer go?!
---------------------------------------------

Each week you will be given a challenge to find inspiration in/from what ever the challenge theme is... you can be as literal or abstract in your inspiration as you want....Just make sure you can tie it back to the theme! Challenge closes at 4:00pm Eastern on Saturday.

You will always be able to jump back to the current challenge by clicking the "Current Challenge" link in our sidebar. The rules can always be found by clicking the tab "Challenge Rules" at the top of the page.

You do not need to use the Creative Inspirations Paints in your project, however, if you do, tell us which colors you used, and your name will go in the drawing twice! Each month, one person will win 5 jars of paint in the colors of their choice. The winner will be randomly drawn from all the people who have played that month, so make sure to join in on our challenges each week!

---------------------------------------------

This week's challenge is:

Inspired By: Ribbon

I have to cards to share with you:

I used 3 different ribbons on this card!  Along with a little shimmer on the background paper.


On this one I used 2 different ribbons and then added pearls to the top of one of them.

I used "Onyx" around the die cut:


Join in, we'd love to see what you create!

Have a great week!

---------------------------------------


Inspired By: Back to School Top 3

Thanks to those who joined us last week for our "Back to School" challenge!  What some great projects!

Here are the Random.org Top 3 Picks:

Beautiful work ladies!

You each will recieve an extra entry in our September drawing for some CI Paints of your own!

You can grab this badge for your blog:

Saturday, September 10, 2011

enamel accent...

Hi everyone!

I'm breaking from my norm today and doing a video tutorial. I was working on my usual photo tutorial when someone asked me to make a video of it, so I figured, why not? =)

(if you can't see the whole screen here, watch it on youtube by clicking here.)


Note: There are several brands and names for the 2 part silicone mold putty. Ranger has one called Melt Art Mold-N-Pour, there's also Easy Mold Silicone Molding Putty, Silicone Plastique, Amazing Mold Putty.... Do a google search for silicone mold putty, and you find the stuff. =)


Enjoy!
~Kassi