Inspirations

Inspirations
The color you see is the color you get!

Thursday, February 28, 2013

Smile

Hi CIP fans and followers!  I've made a card to brighten someone's day, and painted it up with the shimmery paints from the Creative Inspirations Paint store.  The image has several colors: Turquoise, Antique Silver, Sage, and Silver Frost.  The scalloped background she's on is accented in Turquoise as well.  I had a bit of fun with some white seam binding and Sapphire Inspirations paint.  Just added a bit of alcohol to the paint and coated the seam binding.  Then I rinsed it with water to lighten it up for my project.  Just crinkled and used my heat gun to dry.
Here is a closer look at the CIP products that I've used:
Don't forget to check out the current challenge right HERE on the Creative Inspirations Paint blog!

Thanks so much for stopping by!

hugs
Kimberly

Wednesday, February 27, 2013

Altered Pocket Hanging


Hi CIP fans!  Dana here today sharing an altered resin pocket. I found this pocket at one of my favorite discount stores and thought it would be fun to give it a facelift.  I added color and some fun shimmer to this piece with Denium (the perfect blue jean color), Rose Quartz and Onyx.


This flower really catches the light!


I painted the base around this quote in Onyx.  I added a light coat of Denium to the blue jean pocket.  Once dry, I highlighted several areas of this pocket piece with White Frost, for a more shabby feel.


Thanks so much for stopping by today!

Supplies: Patterned Paper: GCD Studios; Flowers: Flying Unicorn; Leaves: D-Lish Scraps; Acetate Butterfly: D-Lish Scraps; Pearls: Want2Scrap; Ribbon: Offray, Seam Binding: D-Lish Scraps; Paint: Creative Inspirations; Ink: Ranger; Other: Resin Pocket, Cardboard, Lace

Tuesday, February 26, 2013

With Deepest Sympathy


Good Morning,
Welcome to Creative Inspiration Paints

 This is DIANA L. From DL.ART , it is my design day here at Creative Inspiration paints,  I Thought I would get ahead,  with a sympathy card. I would rather not have to make these at the time they are needed.


Here is a close up of the flowers. Come on over and look at the rest of the card


 The Resplendence glitter is amazing


Creative inspiration 
shimmering: Royal purple, Amethyst, plum and Resplendence angel dust for the trim piece

For more info on the card please visit my blog at
       http://dianamlarson.blogspot.com

Remember there is a challenge going on at Creative inspiration paints right now Inspired by "Anything goes
CLICK HERE for the challenge. You have until March 9.


Thanks for stopping by have a great and blessed day, Diana


Monday, February 25, 2013

A Teacher Takes a Hand - Mixed Media Piece

Hello, I hope you all had a wonderful weekend! Emily here today with a mixed media canvas I made using Creative Inspirations Paint.  

My daughter, Serenity, asked me about a month ago to create a canvas for her teacher. I had made one last year for her Kindergarten teacher, and she wanted one this year for her first grade teacher. Of course I said I would make one, and knew that these paints would be perfect on it! 

I first took a canvas and used my modeling paste mixed with some acrylic paint to make the chevron pattern using a stencil. After the paste had dried, I used some CI Paint in Aqua Marine between the pattern and along the sides of the canvas. I stamped the butterflies on some tissue paper and used decoupage to adhere them to the canvas in the two corners. I colored them in with Buttercup paint, and colored the hearts in with Rustic Red. 


See my apple? It is another of my tin foil, book covered creations. I painted it with more Rustic Red and added some stamping and acrylic paint for more texture. I painted a chipboard heart with Garnet paint and covered it with Deliquesce embossing powder in Clear. After it had dried, acrylic paint was added along the edges and it was traced with a sketch marker. Before I added the apple, I used some white acrylic paint on the edges of the canvas to sort of frame it. The white was also added to the apple as well to help tie it in with the piece as a whole. 

Check out the close ups of the piece below...


And as always, here is a collage of the Creative Inspirations Paint products used in today's mixed media project. 


I hope you have a wonderful and creative week. Have fun and get messy!! 


Sunday, February 24, 2013

CI Paint Inspired By~Anything Goes

Thanks to all those who joined in our "Valentine's Day" challenge, 
we enjoyed all your wonderful creations!
 Check the post below to see the
  Random.org Top 3!
 ---------------------------------------------
Welcome back to another fun challenge!!
This week's challenge is:
Inspired By: Anything Goes
a fun and VERY popular one......
Remember there is no limit to the number of times you can enter our challenge.
The ONLY requirement is that you write in your post that you are linking up to our challenge!
Here's some inspiration:
I love the look of Kraft and White and wanted to use that combo to make a tag.
I used Deliquesce White embossing powder for the label and sentiment. LOVE that look!!
Then for the heart I used CI Paint in Garnet.
For more details and a complete product list head on over to my blog
Chick-n-scrap.

I hope you have enjoyed my project and will play along with this weeks challenge!!
Remember you do not need to use CI Paints on your projects but if you have them we would LOVE to see how you used them!!
As always thanks for stopping by and
have a great week!
~Jessica~
---------------------------------------
General Challenge Rules

Each week you will be given a challenge to find inspiration in/from what ever the challenge theme is... you can be as literal or abstract in your inspiration as you want....Just make sure you can tie it back to the theme! Challenge closes at 6:00pm Eastern on Saturday.
You will always be able to jump back to the current challenge by clicking the "Current Challenge" link in our sidebar. The rules can always be found by clicking the tab "Challenge Rules" at the top of the page.
You do not need to use the Creative Inspirations Paints in your project, however, if you do, tell us which colors you used, and your name will go in the drawing twice! Each month, one person will win 5 jars of paint in the colors of their choice. The winner will be randomly drawn from all the people who have played that month, so make sure to join in on our challenges each week!
---------------------------------------------

Random.Org Top 3 Inspired By Valentine's Day

Thanks to those who joined us last week for our
Inspired By: Valentine's Day challenge! 
Here are the Random.org Top 3:

#40~Cinni


 #22~Shea


 #31~ Evelyn

  Beautiful work ladies!
You each will receive an extra entry in our February drawing for some CI Paints of your own!
You can grab this badge for your blog:

Saturday, February 23, 2013

speckled...

"Three little speckled frogs, sitting on a speckled log, eating the most delicious flies. 
Yum! Yum! Yum!"

Hello all my wonderful friends!

Sadly we well not be playing with cute little frogs today, but we will be playing with cute little speckles!  And, not just any speckles.  Oh, no sir!  These speckles are CI shimmery speckles!

This is honestly SUPER simple, but also tends to be rather messy... you may want to protect your work space if you don't want to find random polka dots of color all over EVERYTHING. 

Step 1: Mix some Creative Inspirations paint with some water. you want your paint to be nice and runny for this.

Step 2: dip a damp toothbrush into the paint.
(please use common sense.... DON'T brush your teeth with this toothbrush EVER again!!!!  LOL)


Step 3: Slide your finger across the bristles aiming at the project you mean to speckle.... this is where it gets messy. As much as you try to "aim" it will inevitably go wherever it decides to, thereby beautifying everything in reach whether you wanted it shimmery or not. =)

*Sigh*  flecks of gold in a sea of green... so poetic. =)

Easy as 1-2-3, yet an incredibly fabulous effect!!!

I love the speckles of shimmer!  They really make things pop!

Enjoy!

Thursday, February 21, 2013

A rainbow and a Leprechaun!


                                                     Hi, CIP Fans!
       I have a extra post today and I created a fun St. Patrick's Day Card!
I found this free image on web clip art and I just love the rainbow, pot of gold,
 and the adorable Leprechaun! I used CIP paints on everything except the hair,
I used a red watercolor pencil.
Here are the colors I used on the rainbow: Rustic Red, Orange, Sapphire, and Sunshine.
I love how vibrant theses colors are and the amazing sparkle. A close up of the sparkle below!
For the pot, hat and trim on the clothes I used Onyx. I used Emerald on the clothes and Coal for the shoes.
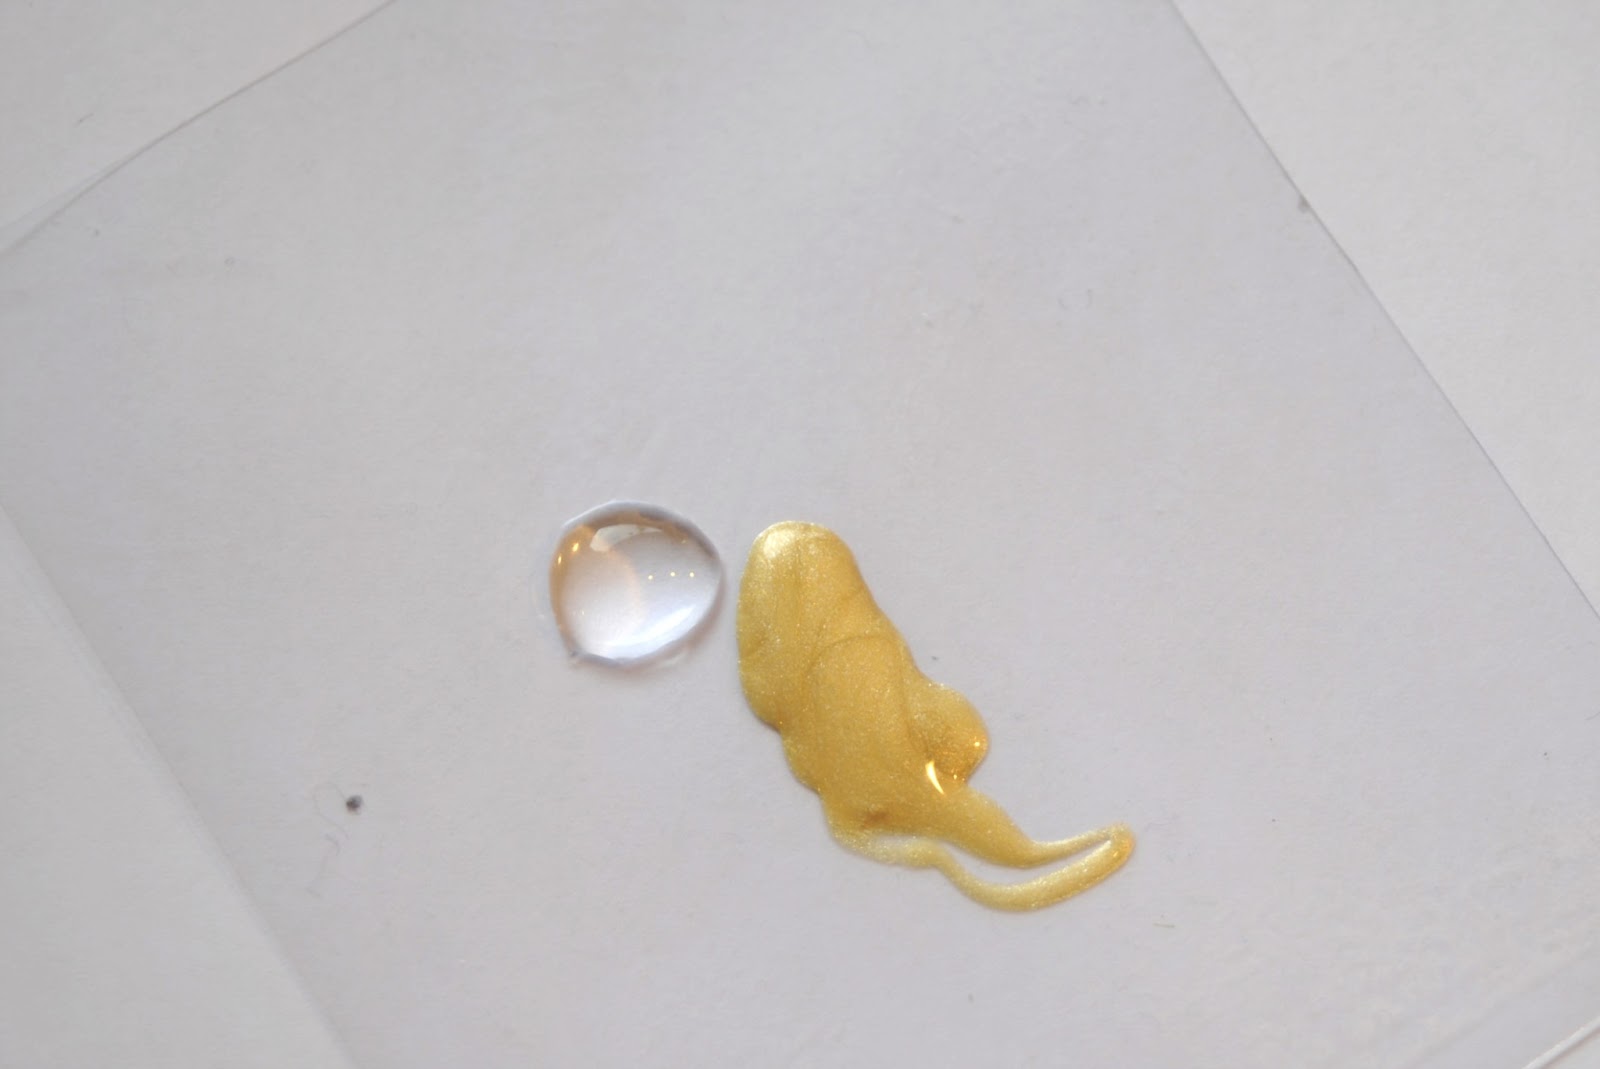
The shoe buckle and hat buckle I used Mocha Latte. For the gold coins I used the color Gold.
I finished the card off with a shamrock charm in the upper left hand corner and some trim!
For a close up of the colors they are below.


 Don't you love all of the colors and the sparkle with so much shimmer!!
 For this picture I had to use the flash for the close up because it was getting dark.


Here are all the amazing colors I used!  Link below to view many more CIP colors!


Here is the link to the CIP store!
Have you seen our amazing color combo challenge over on the CIP face book?
Here is the for the color combo challenge link!
We also have a follower giveaway too! If you have not became a follower on our face book and would like a chance to win 5 CIP paints become a follower on CIP  face book!
Thank you for visiting the CIP blog today!
Have a wonderful weekend!

Michelle

Happy Thursday!!

Happy Thursday everyone and today I am going to share an altered house using Heartfelt Creations patterned paper and a flower tutorial.  I have fallen in love with Heartfelt papers they are so nice and thick and the colors are truly amazing I promise you will be so happy with them and Creative Inspiration paints go beautifully with the soft elegant colors of these papers a true match made in Crafter's Heaven!


 Look at how perfect these paints matched the papers.  I used 3 different colors and sort of mixed and blended them.


 Time for the quick tutorial.   I punched some flowers using Retro Flower punch the medium sized.
 Step 1: Snip between each petal - then ink and color as desired

 Step 2: Curl one side of the petal only - I used a toothpick
 This is how it should end up looking
 Step 3: Cup all the flowers using your embossing tool or even a pen

Step 4: Glue each flower on top of each other but alternate each one This is what you will end up with.  Once it is glued you can cup and mold the flower...


I hope you enjoyed and be sure to check out my blog for  my new thing - Friday's Flower