Hey everyone! Guess what... It's the weekend!
YAY!
But even more exciting... I get to share another technique today!
Random things have lately been inspiring my creativity...
Remember on
Wednesday when I talked about extending your "wet time" with your Creative Inspirations paint? Well, here is one of the ways I love to use that extra "wet time".
What you need:
Creative Inspirations Paint
Clear Glaze Base
Toothpick
Bubble Wrap
Scissors
Double-sided Tape
Acrylic block
Brayer
Step 1: To start out, cut a piece of bubble wrap to your desired size. I like mine just a little bigger than I want the finished stamped area to be.
Step 2: cut out random individual bubbles. Be careful not to cut into any of the bubbles around where you are cutting!
Step 3: Apply double sided tape to an acrylic block big enough to fit your bubble wrap. I use my ATG gun for this, and have always been able to get the adhesive off after.
Step 4: Press your bubble wrap onto your taped block.
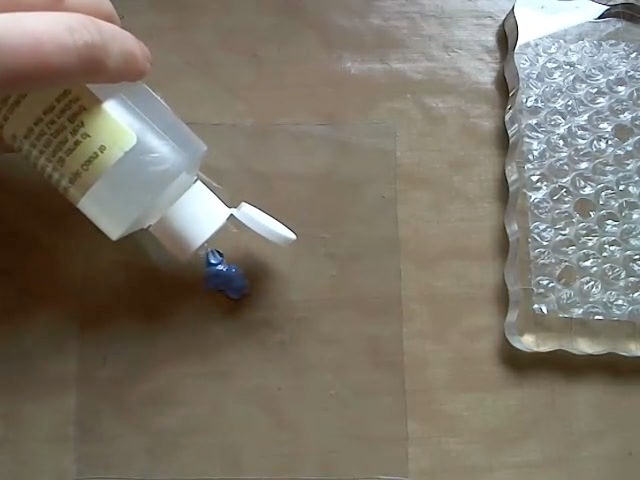
Step 5: Using a toothpick (or any other tool you want) scoop out a small glob of Creative Inspirations Paint. Here I'm using Tanzanite.
Step 6: Add a drop or two of my (not-so) secret "wet time" extender... clear glaze base.
Step 7: Using your toothpick, stir the paint and glaze base together.
Step 8: Using a brayer apply your "extra time" CI paint mix to your bubble wrap.
Step 9: Press your painted bubble stamp onto your paper as you would a regular stamp.
At this point, you are probably thinking... "And why did you have me cut all those random bubbles out?"
Well... for fun, of course! =)
Step 10: Cut a single un-popped bubble out, and adhere to a small block just as you did with the larger piece.
Step 11: Using a contrasting color CI paint or ink pad, stamp in your missing bubbles.
(see, it is fun adding a splash of color, huh!)
This is a fun way to achieve anything from a modern to vintage, playful to grungy look... Have fun with it!
Enjoy!
~Kassi


7 comments:
Oh this looks such fun, I will have to give it a go - Thanks
This is a great idea I'll have to try!
OMG! Love this idea! My brain just doesn't work that way...so creative!
Melissa
www.disneydreamerdesigns.blogspot.com
Thanks for the tutorial. Now I'll have to find some bubble wrap and play.
What an awesome idea Kassi! Never would have thought of doing that! Can't wait to get some bubble wrap!! :)
What a fun tutorial. Perfect use for bubblewrap.
Ohhhhh how fun is this?!?!?!
Post a Comment