Not too long ago, I was having a conversation that was overheard by a non-crafting person... the conversation that followed went something like this:
Him: I don't understand... doesn't grungy mean something like "dirty" and "old"?
Me: Yeah, why?
Him: Well, you were talking about scrapbooking and using grungy things.... why would you want to use dirty things in a scrapbook?
Me: (while trying not to laugh at how literally he took it): It is a style. The things aren't old or dirty, you just make it look that way with inks and things.
Him: Oh, ok.. I was really confused there!
Right now, Shabby is trendy, Vintage is the rage, and Steampunk is everywhere. But, you know, you see a lot of bling going on in these popular styles. Sometimes tons of sparkle and shine works, but sometimes you need a subtler shimmer to complete your piece...
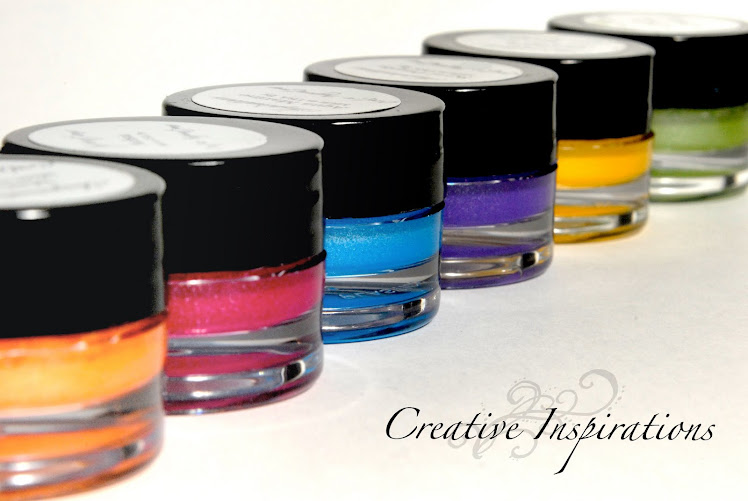
The Creative Inspirations paint has a TON of shimmer power! However, there are ways to tone it down a bit if you need to.
One of my favorite ways to do this is using bees wax.
Ranger sells them in jars like this:
You can also find them in bricks in the soap/candle making isles of some craft stores.
It comes in natural, and white. Natural has a slight yellow tint to it, while the white is more clear. You can use either, it just depends on the look you want.
Step 1: Create your background piece using Creative Inspirations paint. (you will want to use a heavy weight cardstock, or chipboard... the wax will go right through thin paper, making it transparent.)
Here I have a VERY shiny piece I did using the faux bleach technique here.
I used Antique Silver CI paint, and Shabby Pink Colorbox ink.
I loved the look of it like this, and it could have been used like this, but I decided to tone down the shimmer just a little.
Step 2: Scatter a few pieces of wax over your paper. It doesn't take much, and you can always add more if you need to.
Step 3: Using a dry iron (no steam) melt the wax, and spread it over the whole project.
You can add more wax as desired, however, if you get the wax too thick, you will lose the shimmer altogether.
The difference is much easier to see IRL than it is to see in the photo, but I had to try.
I used the same cardstock and CI paint for both the front paper and the back paper. The paper in back has a layer of wax over it, while I left the smaller paper in front with just paint. You can still see the shimmer through the wax, but it is muted.
-Notice the fun swirl design made from different thicknesses of wax.. Fun little extra that just happened while swirling the iron around. =)
Here I have made a place card with my wax covered piece.
So don't be afraid to use CI paints even for projects that require only subtle shimmer.
Don't forget, you still have time to enter the blog truffle here!
Don't forget, you still have time to enter the blog truffle here!


4 comments:
Very cool Kassi!
Cool project! Whodathunk to use wax drops with the CI paints??
great project!
love from France, Kianel.
Ohhh COOL!!!! Love this idea!
Post a Comment