Inspirations

Inspirations
The color you see is the color you get!

Wednesday, August 18, 2010

Featured Crafter: Kassi Hulet


Hi all! I'm back with another featured crafter this week! YAY! This week, we are featuring our Design Team leader, Kassi. I thought you might want to get to know the gal who brings you so many awesome posts each week. :)

Don't forget that if you want to be featured here on the blog, all you have to do is leave a link to your creations using Creative Inspirations Paint on the InLinkz to the right!

Ok, here's some info on Kassi:
1. How long have you been stamping?
I have been scrapping for 10 plus years. I didn't start stamping for a few years after that. However, once I started, I fell in love and have never looked back. =)

2. How did you get into stamping/card making?
I started scrapbooking while in high school to document the musicals and plays I was in. I didn't get serious about paper crafting though until a year or so after graduation when I got in a car accident. Crafting kept me sane during the recovery! (It still does keep me sane...)

3. How did you hear about Creative Inspirations Paint?
I heard about CI paint while looking at Marti's blog (pezadoodle). She was actually announcing the first DT call, so I went and checked it out. I fell in love!

4. What's your favorite thing about Creative Inspirations Paint?
I love the versatility of these paints! I can alter plain ribbon, white paper, patterned paper, brads, buttons... I can even stamp with them. It makes coordination so much easier! (besides saving me tons of money on those expensive papers and ribbons...)

Here's a creation that Kassi made for our post today. You can find more of her amazing work on her blog by clicking HERE.


Tuesday, August 17, 2010

Tuseday Color Spotlight: Pink Highlights

Good morning! This week I'm going to take a look at the color Pink Highlights! This paint is another clear iridescent, like "Fairy Dust" (which was last week's Color Spotlight), but this one has pink highlights!

You could use this paint to alter just about anything you want to give some clear shimmer to with a tint of pink! It would be adorable on baby girl cards, which is on my list of things to do! But I was in a flower mood this week.

I created these two cards. I got these lovely flower stamps from a friend and hadn't used them yet, so I thought it was about time I did!A close-up....The paint along with the ink color almost made the paint look like it had a hint of purple in it!
Another card:
You can see the pink highlights in this close-up shot:
Remember to check out the blog hop going on right now for a chance to win an amazing prize!! The chance to enter ends tomorrow night! Also make sure to order you LIMITED EDITION paints before they are gone!

Have a wonderful day!

Kendra

Monday, August 16, 2010

faux green thumb...


Happy Monday all! Glad you're here! I've got some Monday Inspiration to share with you...

first, a little background...
I grew up loving gardens. My Grandma had a beautiful garden, and could tell you the names of all sorts of flowers. My Mom also does well in the garden. I love flowers, but somehow, I didn't get the "green thumb" gene... I tend to kill plants rather than grow them. =(
I have found a solution though... paper flowers! (I don't kill near as many of these...)

This beauty is one of my many favorites from my Mom's garden... The Globe Mallow (also known as the Desert, or Apricot Mallow) I just love the colors....

This is where today's inspiration comes from.

Step 1: cut out 2 sizes of flowers out of plain old white card stock (I used a Cricut, but any die cutting machine, punch or hand cut flower will work great!)

Step 2: stick the flowers onto the sticky part of a sticky note. (this holds them in place for you) Paint your flowers with your choice of Creative Inspirations Paint. (I used Mango to match the Mallows)

Step 3: when dry, flip the flowers over and paint the other side.

the smaller flowers will be your buds. We will work with them first.

Step 4: using scissors, snip between the petals towards the center of the flower. *don't snip the petals all the way apart... that would be bad.*

Step 5: Using your fingernail, or a bone folder, gently bend the centers of each petal.

Step 6: wrap your bud around the end of a paintbrush or other small cylinder. If you have followed steps 4-5, it shouldn't be too hard to shape your bud

Step 7: take your bud off the paintbrush and pinch the end of it to help it hold it's shape

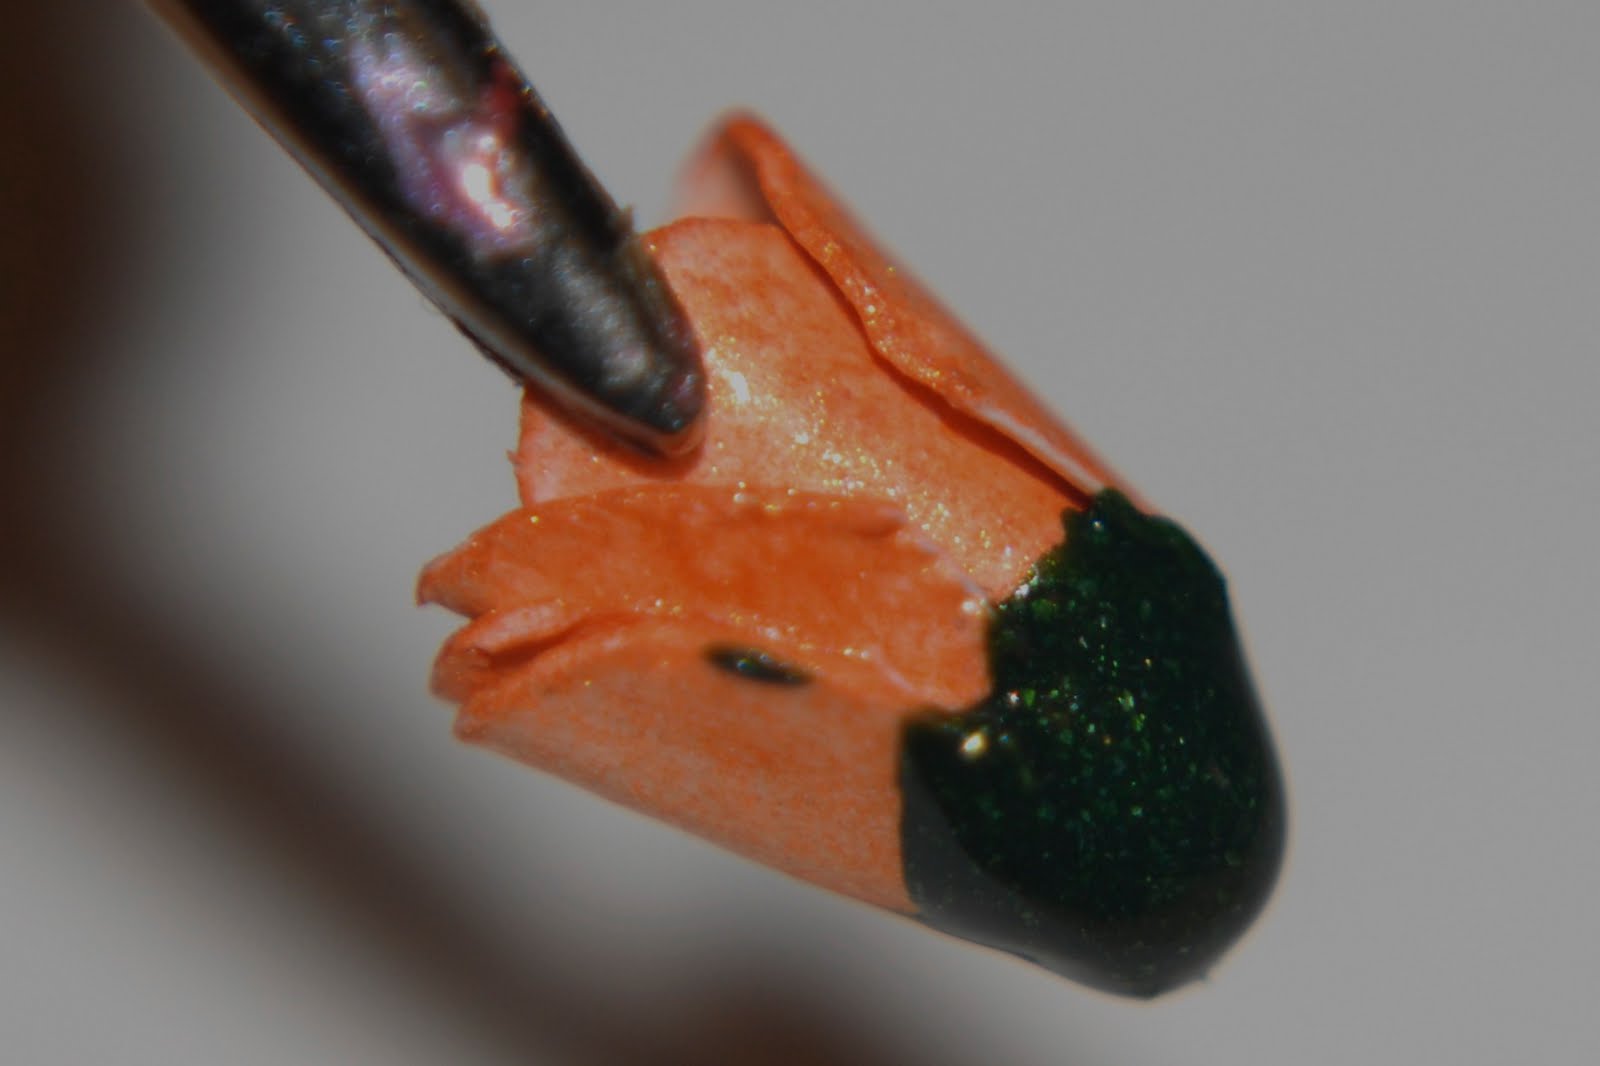
Step 8: Dip the bottom of your bud in a green CI paint (I chose Emerald)

Step 9: Set aside to dry.
*you can make tighter buds by adding a drop of hot glue inside the bud and pinching it closed. A variety of buds is alway fun.

we will now move on the the bigger flowers

Step 10: scrunch up the bigger flowers. If it is a little stiff, you can mist them with a little bit of water to help break down the fibers of the paper.

Step 11: add what ever you want for your centers. I used a rhinestone

Step 12: Using your center as a guide, gently pull the petals up to form a bowl shape

Step 13: put a large glob of hot glue onto a non-stick craft sheet.

Step 14: start pressing your cupped flowers into your glue glob. I usually put about 3 big flowers per glob

Step 15: Add in you buds

Step 16: when the glue is completely cooled, the flower bunch should peel easily off the craft sheet and be ready to glue on your card.

Doing a lot of these bunches ahead of time is a good way to save time when you need a fancy embellishment and don't have much time.
I kept my project very simple to show how much these shimmery flowers really jazz up even the simplest of cards.

Paper: Carrie Stephens "Spontaneous Delight", plain white cardstock
Stamps: Fancy Pants "Fresh Mod"
Ink: Memento
CI paint: Mango, Emerald
Other: rhinestones, ribbon
Aren't they fab!!! I love it when I feel like I can work with flowers without killing them...=)

A little reminder for those of you who didn't play along with our blog hop yesterday... There is still time! Here is the link to get you started... You may have to scroll down on the personal blogs to find the right post with the clues. You have until Wed. night to enter for the drawing.

Also, we need featured crafters! Interested? Well, link your projects using CI paints to our blog using the inlinkz button at the top of our sidebar.... Ashely will get in touch with you if you are chosen.

Have a sparkly day!


Sunday, August 15, 2010

B-day blog hop


Hello all, and welcome to the Creative Inspirations 1 year B-day Blog Hop!
I hope you are as excited as I am for this!
I promised a big announcement... well here it is!

Aren't those colors amazing! Remember they are only available through December 2010. You can purchase the CI paints here. When you buy all four limited edition colors, you save .25 per jar (so, you save $1.00 on the set). Pretty awesome, huh?

Want to see these amazing colors in action? Well, lets start hoppin'!
Besides seeing all the amazing work of the DT, you will find a clue hidden in each blog. Keep track of those clues. If you follow the order of the hop, your clues will be in order, other wise you will have to unscramble the magic word.

So, what do you do with your magic word? Well, after you have gathered all your clues, come back here and leave a comment telling me the magic word. (I think I have made the comments so I have to approve them before you can see them.. This way, I can see what you say, but no one else can cheat.) If you have given me the correct magic word, you will be entered into our drawing for this fabulous prize.
The winner will get to choose what 12 colors of paints they want. Fab, huh!

So, when you are done looking around here, hop on over to Shelly's blog.

In case some of the links don't work, here is the line up
start right here
come back here to comment!

You have until Midnight (MST) Wednesday August 18 to enter. The winner will be announced on Thursday. Don't forget to check back then to see if you won!

Have fun, enjoy, and good luck!
~Kassi

Thursday, August 12, 2010

wrap it in shine


Hello again! We are continuing our B-day celebrations with gift wrap today.
The DT has once again brought wonderful creations to the table. I'm sure you will find great inspiration from their projects!

Click on the names of the designers to visit their blogs for more details about their projects


I hope that inspired you to put some glimmer and glamour into your gift wrapping!

A quick reminder... We are having our B-day blog hop this Sunday, August 15. You won't want to miss this! There is a big announcement, inspiration, and of course, a fabulous prize to win! So don't forget to play along right here this Sunday!!!

Wednesday, August 11, 2010

Featured Crafter: Carole Chesser


Hello again! It's time for another Featured Crafter on the CI blog! Remember, if you want to be featured here, you NEED to link up your creations using Creative Inspirations Paint on the InLinkz to the right. :)

Today's featured crafter is Carole Chesser.

1. How long have you been stamping?
I've been stamping for almost 2 years.

2. How did you get into stamping/card making?
I saw some demos done when my oldest son was a baby, but just didn't
have anyone around me who did anything like it and was too unsure to
try on my own. I did some scrapbooking on and off, but never anything
else, other than occasionally picking up a stamp I just *had* to have.
Finally, in August of 2008, I took an introduction to stamping class.
I've been completely addicted ever since.

3. How did you hear about Creative Inspirations Paint?
Dear Ashley uses it on her cards and offered to send me some to try.
Of course I was thrilled! She even sent my favourite colour - PINK!!

4. What's your favorite thing about Creative Inspirations Paint?
I can't get over how incredibly smooth it is! It goes on so evenly
and the shimmer is fantastic.

5. Is there anything else we should know about you?
I'm a mom of 5, ranging in age from 11 to 20. I probably spend too
much time on the computer, but I've met some of my very best friends
online, and I like to stay in touch with them. I am totally addicted
to challenges. My current goal is to get completely organized so I
can find and use what I have. This is the first time I've been
featured on a blog and I am SO excited! Thank you so much!!!

Carole made this adorable card to share with us today. You can visit her blog by clicking HERE to get all the details.

Tuesday, August 10, 2010

Tuesday Color Spotlight: Fairy Dust

Welcome to Tuesday's Color Spotlight!

Today I'm going to look at one of my favorite CI Paints....Fairy Dust!! I go through this one a lot! I love it!

Fairy Dust is a clear iridescent that can be used to add shimmer to just about anything, while leaving the original paper, brad, ink, etc. the original color.

I really like how you can use Fairy Dust to add shimmer to designed paper. No more having to buy expensive shimmery designed paper when you can use what you already have at home and just use the paint to add shimmer anywhere you'd like. (Not saying it's not fun to buy new paper....but if you'd ask my husband he'd say I killed millions of trees with all the paper I own and he likes to tell people if our house would start on fire my craft room would be the first to burn with all the paper!)

Another photo of using Fairy Dust to add shimmer to a few of the circles.

This is a piece of paper I used on one of my last projects. I thought Sky Blue was a great match to the color in the center of the flowers (bottom circle), but this is just to show how Fairy Dust adds a shear shimmer rather than shimmer and color. The top two circles I just used Fairy Dust.

Who doesn't like shimmery paper?!?! I sure do! I really like that you can use Fairy Dust to add shimmer to whatever sheet of paper you'd like! Once again no more having to pay more for paper already with shimmer! You can just use your CI Paints! These paints have so many great uses!!

Here is the card I created for this week:

One last great thing about Fairy Dust is you can color your image in and use the paint to add shimmer to the areas you'd like while keeping the original color. Same goes along with using inks. Sometimes I like to ink the edges of my paper and then brush on Fairy dust to also add some shimmer.

Fairy Dust is a must have! Check the paints out on the website!

Have a wonderful day!

Kendra

Monday, August 9, 2010

who can resist again?


Happy Monday everyone! It's Kassi here to bring you another Inspiration Monday!!! YAY!
Ok, so this tutorial is a little picture heavy, but I love the look of the final product with this technique, and I wanted to make sure all the steps are easy to follow even if you don't have much experience. =)

So, let's jump in and get our hands sparkly!

I am working on a piece of cheap white cardstock that you can pick up at Walmart.

Step 1: spray some water on you paper. It doesn't need to be drenched, just a little to help the paint spread evenly over the large surface.

Step 2: cover your paper with your choice of Creative Inspirations paint. You can use as many colors here as you want. However, to keep it simple, I chose to just use one color; Sea Foam. (I love this color!!!)

Step 3: Let your painted paper dry completely. This is very important! If you are impatient, like me, you can use a heat gun. Don't forget to make sure the back is completely dry too.

Step 4: While your paper is cooling (if you used a heat gun) ink up your chosen stamp with VersaMark (or any clear embossing ink). For this technique, bold designs show the most contrast, but you can use what ever you like.

Step 5: Stamp your image.

Step 6: cover with clear embossing powder. This is the reason you want your paper completely dry. If your paper is wet in any spot, the powder will stick there as well as where you inked.

Step 7: Heat emboss as normal... I was actually surprised how well it showed up in the photo... in RL it isn't always easy to see where the clear embossing powder is... Finding the right lighting is the key there.

Step 8: Using a darker dye ink, go over the entire project with your ink pad. This is often referred as direct to paper inking (or something along those lines). Because of the paint base on the paper, this will be streaky and uneven. Don't worry. We will fix some of that in the next couple steps, and what is left gives it a certain charm that you don't get when using other products for this technique. =)

Step 9: If you have an ink blending tool, you can use that here. I often just use a make-up wedge. They are cheap, so I can easily keep one for each color ink. Anyway, whether you are using a make-up wedge or an ink blending tool, you want to ink it up with the same ink you were just using.

Step 10: Rub your blending tool over your paper. Work the ink into the little niches that were missed by the pad. Work out the streaks left behind by the pad. Basically just blend the ink over the entire project.

*side note: If you wanted to skip the direct to paper part with the ink pad and go directly to the blending tool, you can, however your ink coverage won't be as dark, and the paint may not get covered up as well.*
Step 11: Now comes the magic. Using a slightly damp q-tip, wipe the ink off of the embossed image. The embossing powder will act as a resist. so it should come off without any trouble.

You will end up with something like this. Isn't it pretty! I think the unevenness of the ink on the background gives in character that you can't achieve if you only use inks.

One of the cool things about this, is even though you covered your entire background with ink, the SHIMMER still shows through. So it makes it look like a metalic ink was used. Love it!

here is just another sample of this technique with different colors. I used a blue ink and Blush CI paint. There are countless color combinations. Colors with more contrast will give you more "pop" while colors with less contrast will be a more subtle effect.

Of course, I have a finished project...

Paper: DCWV, white cardstock, mulberry paper
Stamps: Hero Arts "Silhouette Burst", Basic Grey "Swirly"
Ink: Archival ink, Printworks Designer ink, VersaMark
Creative Inspirations paint: Sea Foam, Fairy Dust
Other: embossing powder

For the edges of the card, I used my make-up edge to add a hint of color. I then sponged on some Fairy Dust CI paint to give it that subtle shine.

Pretty fun, huh!

One thing I learned is that if you use Tim Holtz Distress ink for your dye ink, it takes a while to dry. It also doesn't cover the paint as well.
I used Peach, Sky Blue, and Green Olive CI paints with Vintage Photo distress ink. It has a totally different look, but, it is still fun!

Reminder: Link your projects using CI paint to our blog using the link button at the top of our sidebar. You just may be our next featured designer!

Also, don't forget that this Sunday (August 15) will be not only our first ever blog hop, but we have some exciting news to share... and of course there will be a prize to win... So, come join the fun!