Hey guys.. wanna twist?
I have been watching the daffodils beginning to pop out all around, and it has me excited for spring! So, today is all about quick, easy, and shimmery flowers!
What you will need...
Flower cut outs (either hand cut or die-cut)
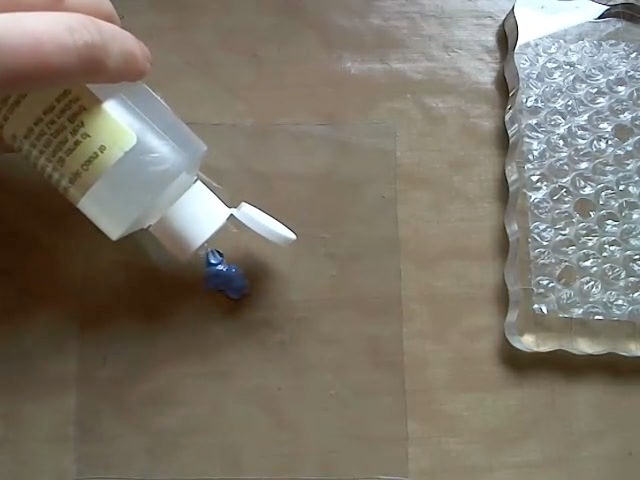
Creative Inspirations paint
ok... let's jazz up those flowers!
*and uhh... don't mind the paint covered hands... I'd been having fun...lol!*
I have die-cut a flower out of an old book page using a Quickuz die.. there are tons of options for flowers dies in both metal and electronic... have fun with different shapes, sizes, and papers!
Step 1: Paint both sides of your flower. I'm using the beautiful Denium color.
Step 2: While the paper is still wet, crumple it into a ball. Let it dry crumpled up... a heat gun speeds up this part, but is not necessary.
Step 3: Un-crumple your flower. Now fold it in half and pinch the middle.
Step 4: Fold your flower in half again (it should be in quarters now...). Keep pinching that center!
Step 5: Still got a good hold on your center? GOOD! Now you want to use your other hand to twist your petals... You don't need to make it dizzy, just give it a good twist.
Now, if you wanted, you could tuck this little guy in some leaves, or behind some other flowers, and you have a sweet little bud just starting to open...
But, if you want an open flower...
Step 6: Keep a good firm pinch on your twist, and carefully open your petals. You can do a little arranging until you get it just how you want it...
After your petals are open, and you are done fidgeting with them, the twist in back should, not only give dimension, but it should keep your flower in place until you are ready to attach it to your project.
Add centers, if you want, and you are done! They are now in full bloom and ready to add color, texture, and glitz to any project!
Wanna try a twist on the twist? You can do the same flowers with fabric... The only difference is that you need to secure your twist by running a needle and thread through it a couple times, and tying a knot.. No big deal, and requires NO complex sewing skills (or I wouldn't be able to do it. LOL!)
The one on the left was cut from a pair of worn-out jeans, then painted with Fairy Dust CI paint for shine. The one on the right is some sort of dress lining fabric (left-overs from a prom dress my mom made years ago). It is covered in the happy Sunshine CI paint... LOVE it!
So, have fun, and go TWIST!!!
PS... does twisting count as exercise? =)


