
Happy Saturday!
I'm glad you stopped by for a little inspiration!
Lately, things have been a little crazy around my house... Well, ok, REALLY crazy! We decided that we should sell the house we have lived in for the the past 24 years, leave the STATE I've lived in my whole life, and buy a house on several acres of land (and a ton more rain than I'm used to!) on the western side of Washington state... Are we crazy? Probably! LOL!
Anyway, we have been going through things for a while now to get rid of the things we don't need anymore. In doing so, I have come across a ton of white tissue paper... You know, the thin paper you stuff in gift bags. The stuff you get tons of because "it is always good to have around". =)
Well, I started playing with it in my craft room, and I must say... it has become one of my favorite papers to work with! You can do SO many things with it!
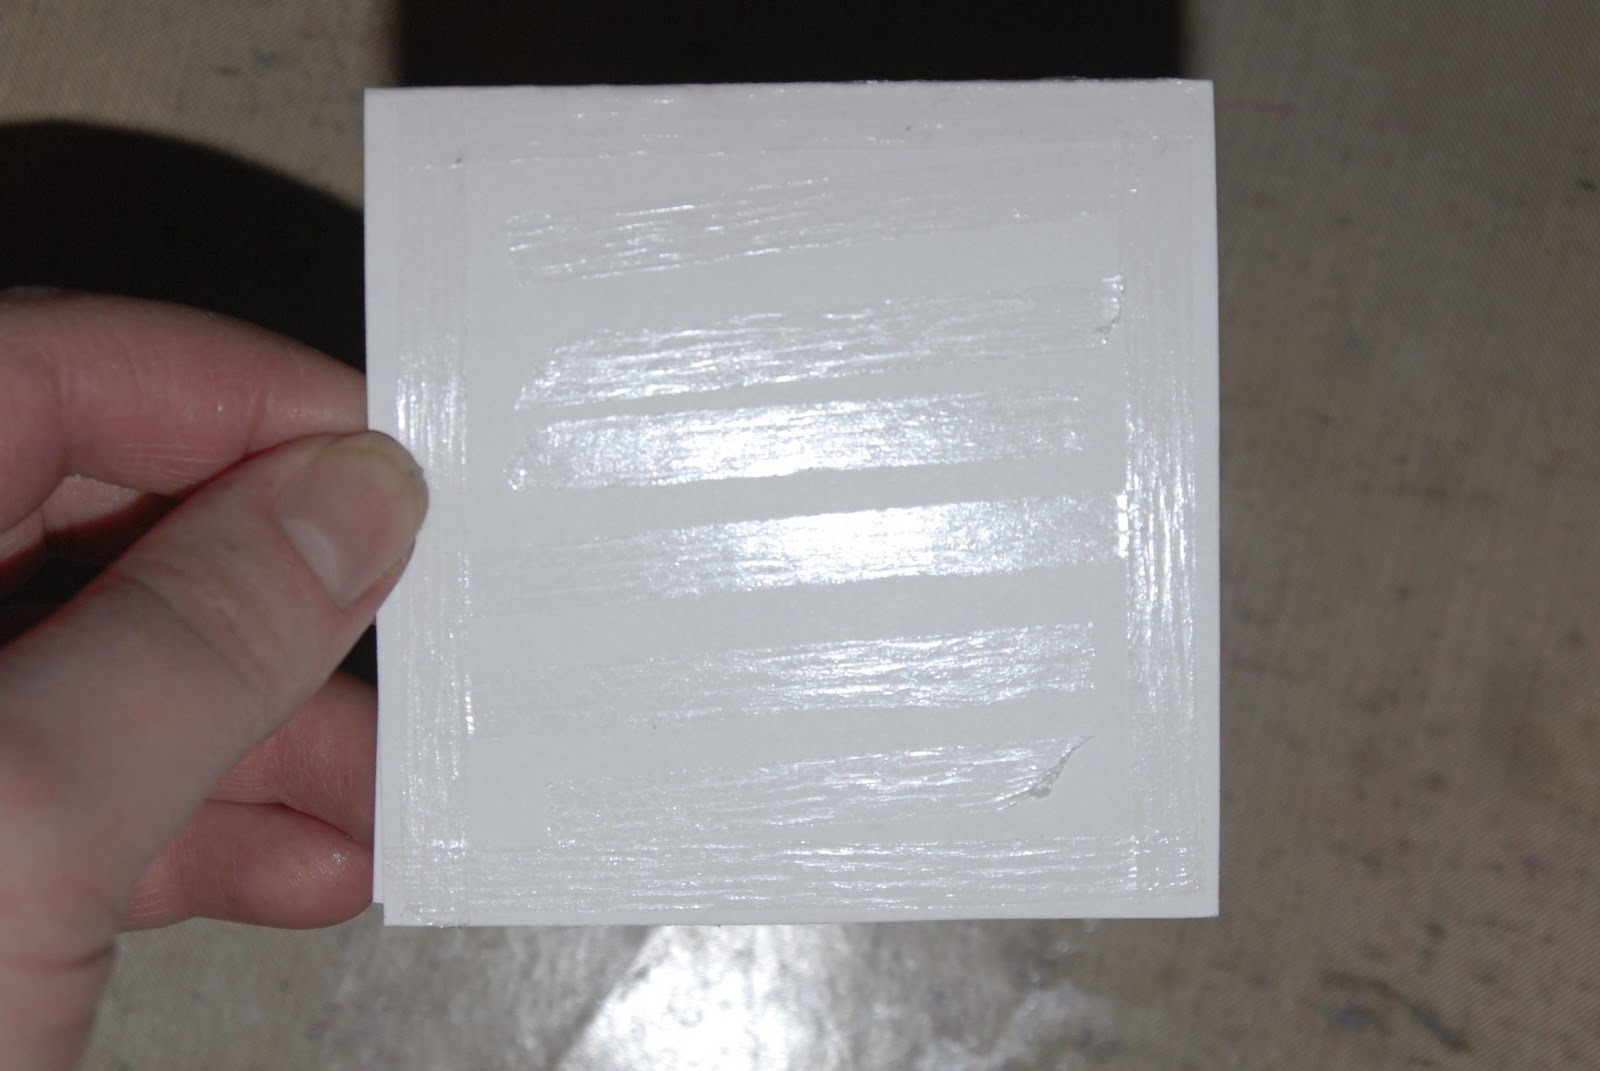
Here is one use... it is called
Faux Silk (the CI way)
You will need:
Tissue paper
Creative Inspirations Paint
Stamps (optional)
Ink (optional)
Dry adhesive (like double sided tape or glue stick)
A Base (I usually just use cheap cardstock)
*disclaimer... I know the colors I used for the tutorial aren't the best. LOL! But hey, I have those days when the projects I'm working on don't come out how I envision them... I just don't normally let people see that part of the creative process. HEHEHE*


(see what I mean about not looking so great? LOL! I was going for a watermelon look. um....yeah..)


That's all there is to it!
Tip: You don't have to stick with squares or rectangles... this would be a fun way to add texture to any die cut!
Here is my sample project.. since I really didn't like how my green one turned out, I did a different one using Amethyst CI paint.

If anyone is wanting to wrap a gift in my house, you might want to check my studio first... LOL!
You still have time to enter to win some fabulous blog truffle here, so don't forget!
~Kassi
5 comments:
Thanks for the wonderful tutorial! We all have so much tissue laying around and this is a great way to use it. Thanks you also for actually reading our comments on wanting a few ideas to use your fabulous paint!!!
Great tutorial! I'll have to try this!
Kassi, you do the coolest things! Can I be you when I grow up???
This is such a cool project!!! I can't wait to try this out!!!
Very Cool!
Post a Comment