Inspirations

Inspirations
The color you see is the color you get!

Sunday, April 17, 2011

CI Paints Inspired By: Eggs

Thanks to those who joined in our "Chocolate" challenge last week!

Check post below to see Random.org Top 3!

---------------------------------------------

Each week you will be given a challenge to find inspiration in/from what ever the challenge theme is... you can be as literal or abstract in your inspiration as you want....Just make sure you can tie it back to the theme! Challenge closes at 4:00pm Eastern on Saturday.

You will always be able to jump back to the current challenge by clicking the "Current Challenge" link in our sidebar. The rules can always be found by clicking the tab "Challenge Rules" at the top of the page.

You do not need to use the Creative Inspirations Paints in your project, however, if you do, tell us which colors you used, and your name will go in the drawing twice! Each month, one person will win 5 jars of paint in the colors of their choice. The winner will be randomly drawn from all the people who have played that month, so make sure to join in on our challenges each week!

---------------------------------------------

This week's challenge is:

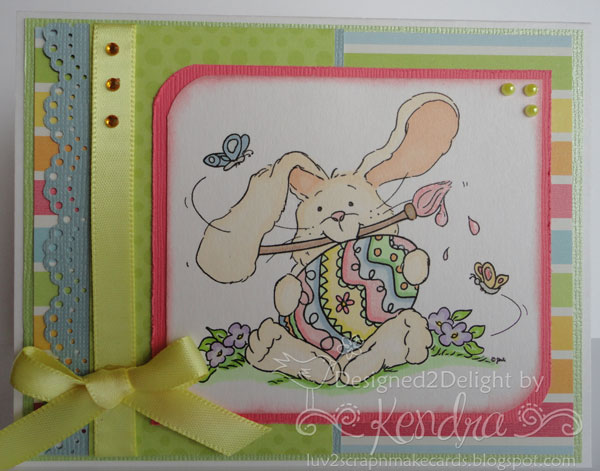
Inspired By: Eggs

With Easter around the corner I'm sure many people are making Easter cards and decorating eggs!

Here's a card for some inspiration:

Have a great day!  We hope you'll join in our challenge!

Kendra

-------------------------------------


Chocolate Random.org Top 3

Thanks to everyone who joined in our "Chocolate" challenge!

Here are the Random.org Top 3 Picks:

#4 Kathleen Mc
  

#9 Pat M 


#2 Mona Eidhammer   


Beautiful work ladies!  You each will recieve an extra entry in our April drawing.


You can grab this badge for your blog:

Saturday, April 16, 2011

off the paper...

Hey everyone!
I hope you are having a fabulous weekend!

Today's tutorial is about taking Creative Inspirations paint off the paper, and onto the canvas!  Don't worry, no artistic skills are needed. =)


 Here I have a piece of regular canvas.  I frayed the edges a little just for texture.

 Step 1: "ink" up your stamp with your choice of Creative Inspirations paint. 

 Step 2: press stamp onto canvas.

 Easy, huh! But it looks awesome! And you still get that fabulous shimmer!

 Keep in mind when choosing your stamp that anytime you stamp with paint you won't get the extreme detail you get with ink.  

 For a finishing touch, try using a makeup wedge to apply CI paint to the edges!


Have fun adding fabrics into your craft projects!
~Kassi

Friday, April 15, 2011

in the prime...

Happy Friday everyone!  

I'm here today to share a quick tip.

Have you ever tried to paint a chipboard piece with your Creative Inspirations Paint, and found yourself disappointed by the dull color?  Well, the is because the paints are translucent... The dark color of the chipboard can be seen through the paint leaving it looking like the piece on the left.

I painted both of these chipboard puzzle pieces with Sea Foam  CI paint... So how did I get the vibrant color to show up over the brown of the chipboard on the second piece?
Simple!
I used a base coat of gesso.  Gesso is a white primer that is often used to prep surfaces for painting.  Just like putting a primer on your walls, putting gesso on your chipboard will make a world of difference!
Simply brush on (or sponge on) the gesso, allow to dry, then paint with your choice of CI paints.

You can find gesso in the painting section of craft/art stores.

Take time to be creative this weekend!
~Kassi

Thursday, April 14, 2011

Dabbed Blue Butterflies

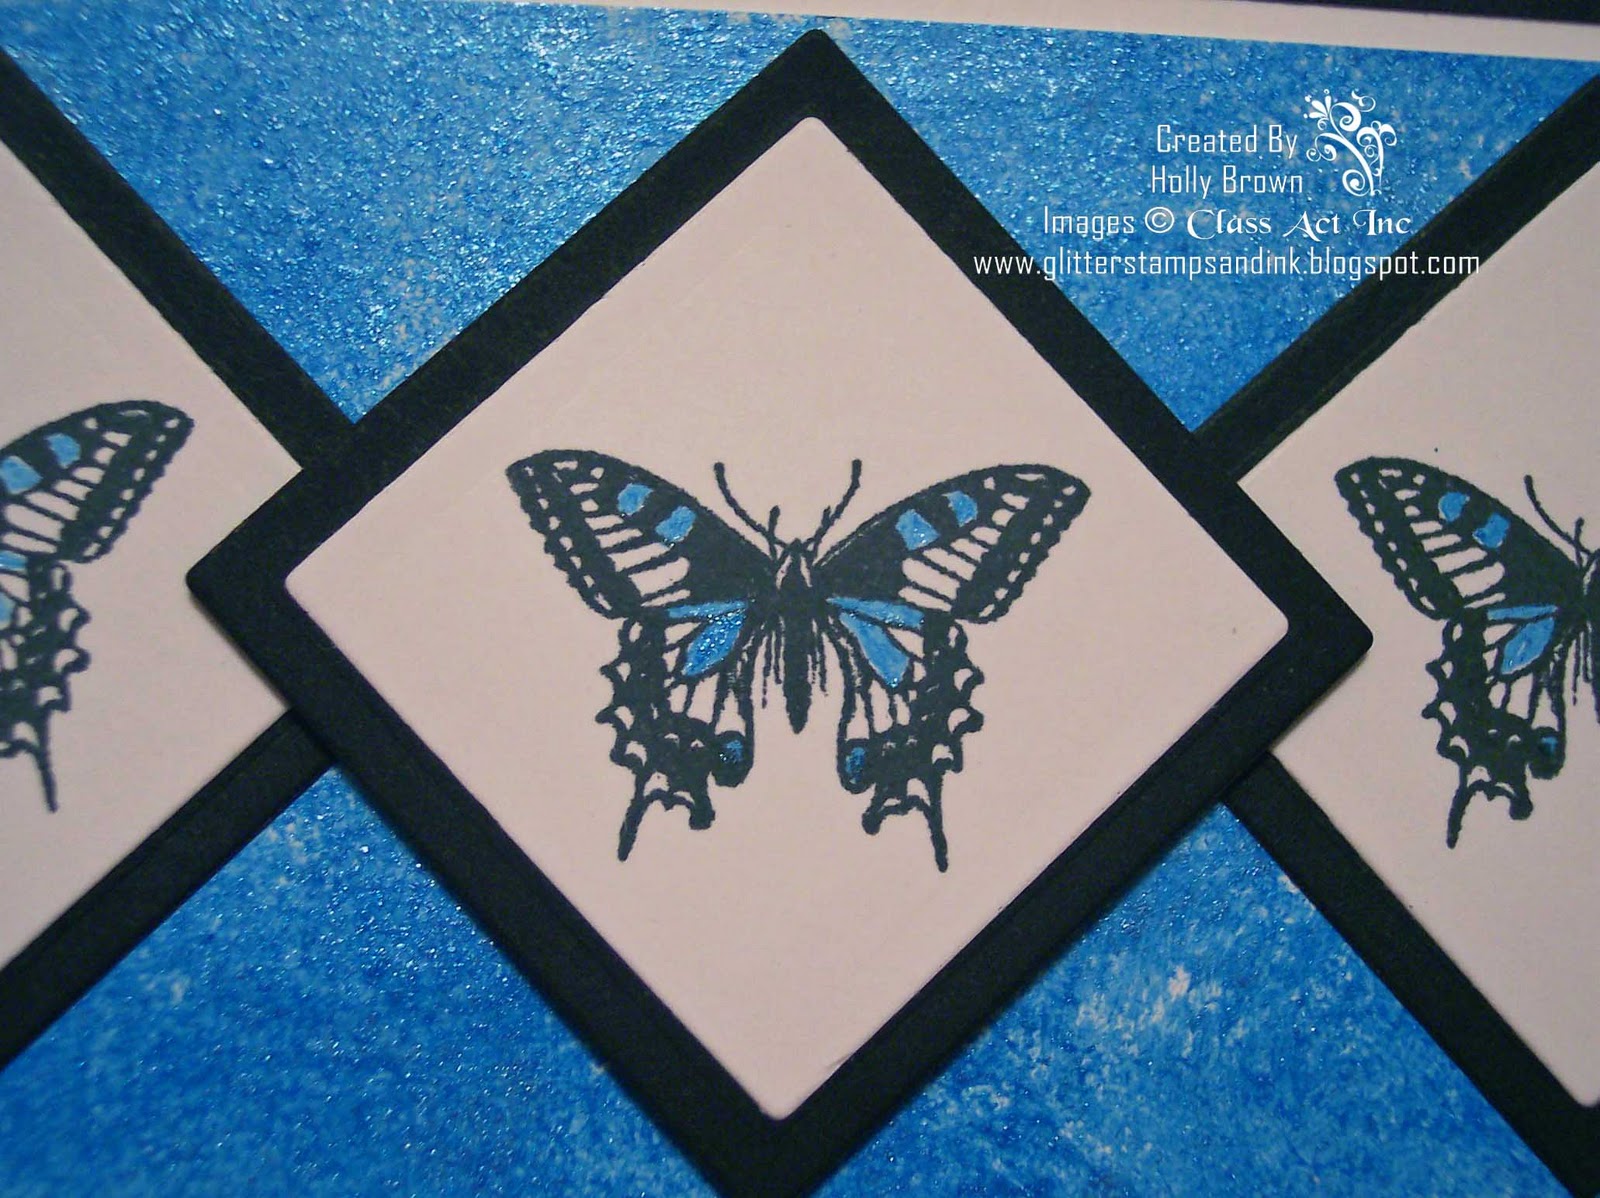
Hi everyone! It's Holly posting today. I was creating this card for a challenge where we have to use the color blue and some kind of edge punch on our projects. I pulled out a small butterfly stamp and stamped it three times, painted them with Aqua Marine Creative Inspirations Paint, cut them into diamonds, and then I stamped a sentiment at the bottom of my card.


For the "edge punch" part of the challenge, I decided to do something a little different. I pulled out my trusty pinking shears and cut the triangular edge so it coordinated with the three butterfly diamonds.

How do you like that background? I randomly sponged some Aqua Marine Creative Inspirations Paint all over the background cardstock. You can see the awesome shimmer here:


CI Paint: Aqua Marine
Stamps: Butterfly Square & Edwardian Birthday (Class Act)
Ink: Tuxedo Black Memento
CS: Black, White
Other: square dies (Spellbinders), pinking shears

Wednesday, April 13, 2011

vintage kit 3D card frame - Kianel

Hello,
Kianel here with you. Today i am showing you another card made with the kit i have designed here in France as guest designer. This kit is really cool and contains a jar of Creative Inspirations paints!!! yeah!!! For this card, i made a step by step (in french) that you can find here.
I used the "fairy dust" paint on the wings, the flowers, the die cuts, the little Tildas. Hope you will like it!
Don't forget to pop by every day to see the terrific creations of my DT mates and every sunday for a new fun challenge!
Love from France, Kianel.

Tuesday, April 12, 2011

New DT Birthday Card

Hi there everyone!! This is Carole Chesser here and I am so super excited to have my first DT post with Creative Inspirations! I still can't believe I get to be part of the team!!

This past week has been birthday central around my house, so I made a birthday card using a few Unity stamps. I thought I'd try painting directly onto my stamps and stamping with them, since I'd never used my paints that way before. As you can see, it worked out really well! It's definitely a different look, but I think it came out really cool, plus the shimmer is fantastic!
I especially love the look of the vine stamp down the left side of the card. I'm definitely going to be using this technique more often! I did learn that it works a lot better with a stamp that has more solid areas, rather than just outlines, such as the sentiment, but that did still work. I can hardly wait to try it with multiple colours!

I used Emerald on the vine and sentiment and Evergreen on the tree. I painted a second layer to add a little dimension after the first layer was about half dry. I wanted it to be a little streaky, so it looks more like it has depth.

Monday, April 11, 2011

Cupcake Flying in with a New DT Member


Welcome to Creative Inspirations blog. Did you have a nice weekend? The weather warmed up in Southern Ontario, Canada, which was such a treat.

This is Beth Norman, making my debut as a new DT member. I am so thrilled to be working with Creative Inspirations paints.

When I used my paints, I coloured the paints with a Creative Designs sponge stick, directly onto the cupcake. On the wings and bottom of the skirt, I blended with an artist's chisel brush.

I love how these paints are so versatile and how shimmery the results are. I am also pleased that I can use Creative Designs paints with my artist brush to add shadows and highlights. You will be seeing me work with my artist brush more regularly.

Stamp: Mo Manning
Background Technique from the Technique Junkie Newsletter: Waxy Cuttlebug

Sunday, April 10, 2011

CI Paints Inspired By: Chocolate

Thanks to everyone who joined us for our "SPRING" challenge! 

Check the post below to see the random.org Top 3!
---------------------------------------------
Each week you will be given a challenge to find inspiration in/from what ever the challenge theme is... you can be as literal or abstract in your inspiration as you want... Just make sure you can tie it back to the theme! Challenge closes at 4:00pm Eastern on Saturday.

You will always be able to jump back to the current challenge by clicking the "Current Challenge" link in our sidebar. The rules can always be found by clicking the tab "Challenge Rules" at the top of the page.

You do not need to use the Creative Inspirations Paints in your project, however, if you do, tell us which colors you used, and your name will go in the drawing twice! Each month, one person will win 5 jars of paint in the colors of their choice. The winner will be randomly drawn from all the people who have played that month, so make sure to join in on our challenges each week!

---------------------------------------------

This week's challenge is:

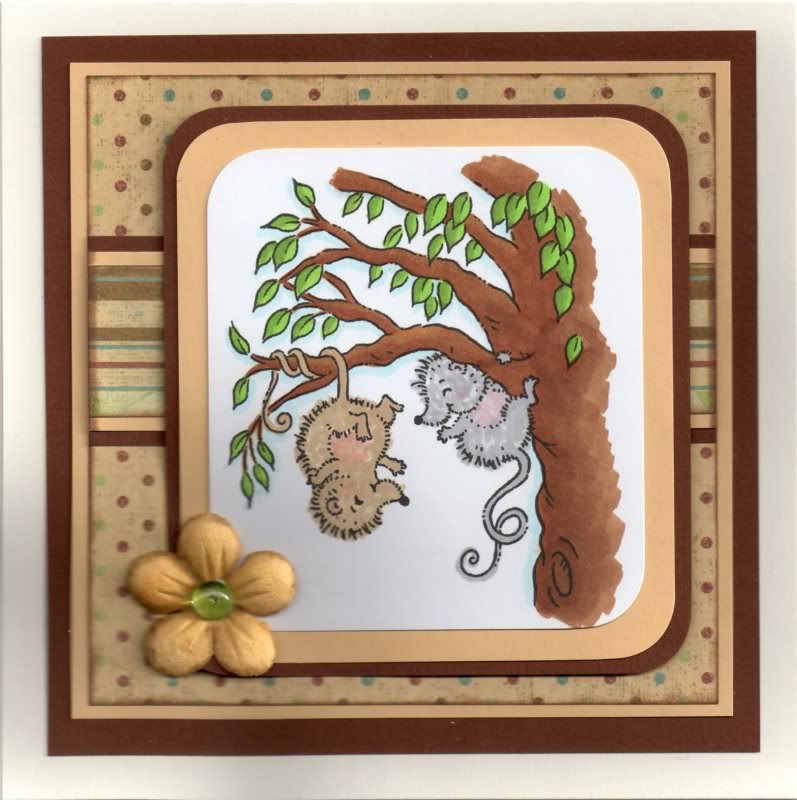
Inspired By: Chocolate

Here's a card for some inspiration:


We look forward to seeing what you create! Maybe have some chocolate while you're creating to inspire you!! :)
 
Have a great week!
 
 
---------------------------------------------

Inspired By: Spring Random Top 3

Thanks to everyone who joined in our "Spring" challenge!

Here are the Random.org Top 3 Picks:

#29 Ardilla
 
#11 Ulina
 
#20 Tracy MacDonald  
Beautiful work ladies!  You each will recieve an extra entry in our April drawing.

You can grab this badge for your blog:

Saturday, April 9, 2011

faux plastic...

Welcome back everyone!  
I hope you are all having a fabulous spring weekend! I come today with a fun way to give a little extra something to you flowers.

What you need:
Flowers (I'm using white Primas)
Creative Inspirations Paint
VersaMark
Ultra thick embossing enamel (UTEE)
Heat tool
Tweezers
Glitter (optional)

 Step 1: begin by painting your flower with your desired color of Creative Inspirations Paint. Here, I am using Amethyst.

 Step 2: dry your flower completely. This is important to avoid problems in later steps.  

 Step 3: tap your painted flower onto a VersaMark pad. (any clear embossing ink works)

 Step 4: cover your flower with UTEE.

 Step 5: carefully heat the UTEE. Start with the heat gun far away, and slowly move it closer... If you move to fast, the powder will simply fly all over instead of melting. 
*I strongly suggest using tweezers to hold it down while heating. The air from the heat too is hot, and the embossing enamel gets very hot. Please be careful!*

 Step 6: working quickly while the embossing powder is still hot, cover the flower in UTEE again, then heat.

 Repeat this process to build up desired amount of UTEE. I usually do 2-4 layers.

You can stop here if you desire.
or...
 Step 7: if you want, you can sprinkle a little glitter over the flower while the last layer is still hot.

 Step 8: heat the UTEE again to seal the glitter into it.

The CI paints are packed full of shimmer, so the glitter isn't really needed, but adding in the slightly larger pieces of glitter adds a little extra interest and texture.

 Have fun!
~Kassi

Friday, April 8, 2011

reminder...

Hey everyone!

Just a little reminder that these fabulous four colors are now available for purchase at the Creative Inspirations Paint website here!

These are BEAUTIFUL colors, and I am so glad they are now a permanent part of our line!


~Kassi

Thursday, April 7, 2011

Spring Banner

This week our challenge here at Creative Inspirations Paint is "SPRING".  I've never made a banner before so I thought I would make one for my craft room.


I used crepe paper to make the ruffle at the top and then sewed it and the rick rack onto the pennant.  The crepe paper and doily were painted with CIP "Fairy Dust".


The letters were painted with white acrylic paint and then painted with CIP "Winter Frost".  I then added some extra bling with Diamond Dust.


Those bright colors have certainly brought some cheer into my craft room which is sorely needed since we have had a week of dark, rainy days.

Make sure to check out the other DT's spring creations! I'm sure you'll find lots of shimmery inspiration for your spring projects.

Wednesday, April 6, 2011

Spring Is In the Air!


Hello!!! My name is Carolyn, and I am extremely excited to be one of the newest additions to the Creative Inspirations DT Family:o) I was first introduced to these incredible paints about a year ago, and it was love at first sight! As a papercrafter/card maker, shimmer and sparkle are an absolute must-have in my creative arsenal...so, these paints find much love on my projects...for me, they are a necessity. If you have never tried them, you truly do not know what you are missing!!!  They are beautiful...easy to use...incredibly versatile (just check out all the fab tutorials)...and quite inexpensive.


For today's card, I was inspired by this week's Creative Inspirations Challenge- "Spring". I don't know about you, but when I think of springtime, I envision butterflies fluttering about:) I thought about what I would like to create and opted to dust off some crafty goodies that have been sorely neglected...a Dreamweaver's brass stencil, an embossing stylus and a light box. Do you remember using these before embossing folders hit store shelves?  The stencil used on this project is very narrow...perfect for a bookmark, but not so great for a card...so, I embossed three panels to create my background. I painted over the raised images with Tutu Pink CI Paint to add a touch of color and to give it tons of sparkle. Since I am not a skilled photographer, I had a bit of difficulty capturing its true beauty, but hopefully you can get an idea from the image above. 


For the butterfly above, I inked up one of my butterfly stamps and painted it with more Tutu Pink CI Paint. I just love all the shimmer it added!! Since the stamped image was too big for the bow, I pulled out my trusty MS butterfly punch and let it do its work...now, it fit on the bow perfectly:) Then, I added the dots and the body with some Viva Decor Pearl Pens.


This was a really fun card to make, and it felt really good showing some of my neglected goodies some much needed love.  I hope you found a little creative inspiration today, and look forward to seeing your Springtime creations in this week's challenge:o) Thanks for dropping by, and have a beautifully blessed day!!!!
(You can find a detailed listing of the supplies used in today's card, HERE.)

Happy {{HUGS}}!!!
Carolyn