
Hello my wonderful and creative friends!
Burlap is quite the trend right now in home decor.. have you noticed that? I'm not complaining. I really like it actually.
One of the best parts is that it is inexpensive, and very DYI!

Ready to try your hand?

Step 1: Cut your burlap to the size you want it, both in width and length. If you want frayed edges, pull a few of the strings out along both the top and bottom edges.

Step 2: (optional) To keep the burlap from fraying farther, run it through your sewing machine with a small zigzag stitch. Since we are just wrapping a candle, it really isn't overly necessary, but if you want to be on the safe side, that's how you do it.
(thanks mom! She's the sewer, not me! LOL)

Step 3: If your burlap is not the color you want, go ahead and change the color by spraying it with ink. I use All Purpose Ink by Tsukineko because if you heat set it, it is permanent in fabric.
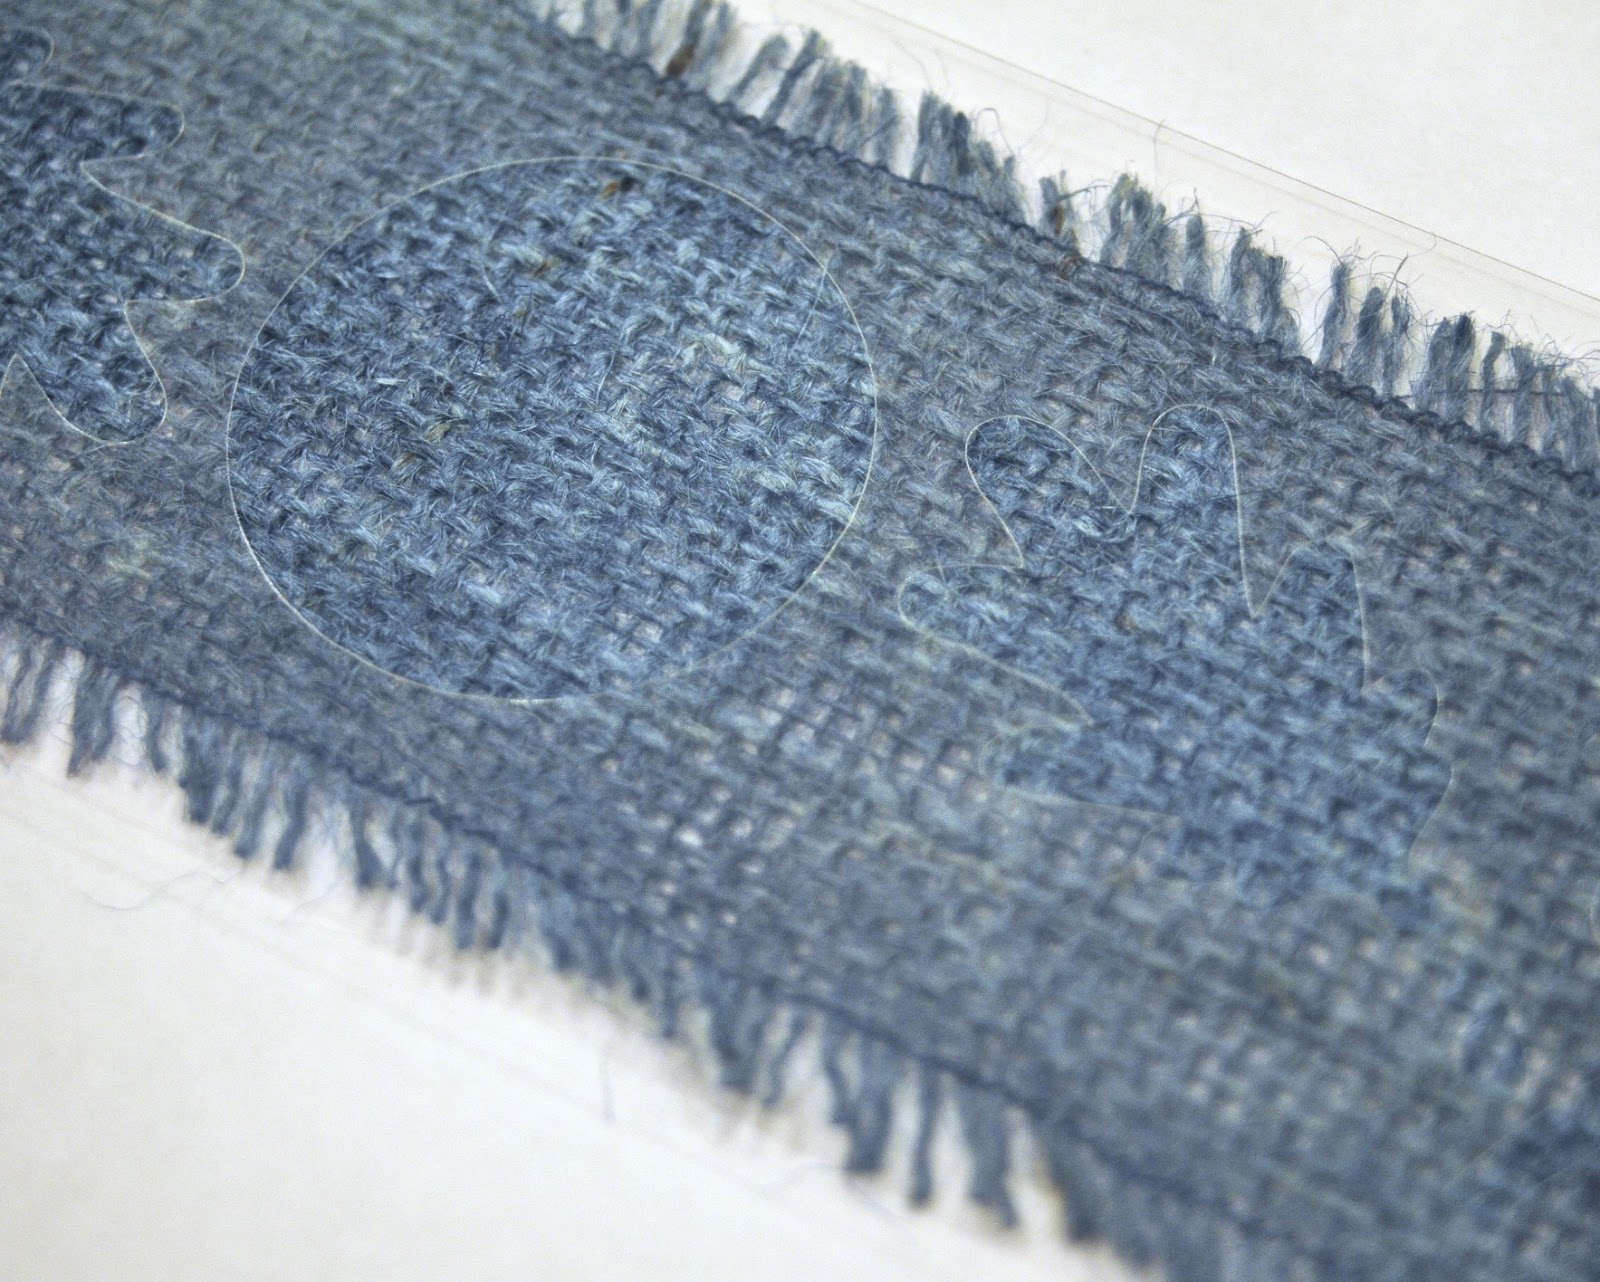
Step 4: Lay a stencil over your burlap. I cut mine out of acetate using my silhouette. Keep the shapes fairly simple. Burlap has a fairly large weave. Any detail too fine will get lost in the weave.

Step 5: Sponge on some white acrylic paint. This will give you a base coat to paint over since the background is dark. If I had left my burlap white, I could skip this step.

Step 6: Sponge on some Creative Inspirations Paint. I'm using Gold. I thought it fit well for the season.
I could have used many different tools to sponge on the paint. I chose to use a cotton ball because I like the distressed look not all the acrylic paint getting covered up. Personal preference for this project. Feel free to experiment with how you like to apply your paint, and how much paint you apply. I tend to go light, again because I like the white to show through and accentuate the weave of the fabric.
Step 7: Now it's time to personalize...

Try stamping... Simply load up you stamp with Creative Inspirations Paint using a makeup wedge...

...and stamp onto your painted burlap.

You can also use a paintbrush to doodle...
Whatever makes your heart sing. :)
Step 8: Once it is all finished and dry, wrap it around your candle, and use a needle and thread to sew the back shut.

Here's a closeup of mine. I wrapped some heavy twine around it

An acetate leaf colored with alcohol inks strung on the knot, and it is done! From start to finish this project really didn't take much time at all. It could be a fun gift... or a great project for the kiddos to help with. :)
Enjoy!
PS: Don't forget the Creative Inspirations Design Team Call! There is still time to get your application in.. and let's face it, the application requirements this time are EASY! No new projects required. So there really isn't any reason to put it off. :) Here's the link to the info>>>DT CALL
5 comments:
beautiful! Now I am going to buy that large roll of burlap on sale at Michaels!
Very pretty!! Your altered candle & burlap looks amazing!!!!
I love creating with burlap too one of my favorites! :)
This is fantastic!!! A very creative idea!
What a fun way to use paint! I love all the texture on this piece!
Love this Kassi!! Burlap is one of my favorite things to play with!
Post a Comment