
Welcome to another Inspiration Monday!
I am so excited for today's technique! I love stamping, and I have enough stamps to start a small library... LOL. So here is your chance to use your stash of stamps with your Creative Inspirations Paint. Fabulous, huh? It gets even better... if you have stamped for a while, you probably already have all the stuff sitting around your house!
Let's get started! Welcome to my bathroom sink. =)

Step 1: gather your supplies. You will need a sink, a liquid soap (I'm using dish soap), and an old pigment stamp pad. Size and color do not matter. (you can also use Ranger's Cut n Dry foam, but since it doesn't have a lid, it will dry out.)

Step 2: squirt some soap onto your stamp pad and message in.

Step 3: wash.
Step 4: repeat steps 2-3 until ink pad is clean.

You can tell the ink pad is completely clean when your soap bubbles stay white...

...and when you can press your ink pad onto a clean paper towel and no ink comes off.

Your stamp pad will look something like this now. *Weird how a black ink stained the pad pink... huh, go figure.*

Step 5: wash out your stamp pad lid.

Step 6: shake your desired color of Creative Inspirations Paint. I used Sapphire
Step 7: using a popsicle stick (or something similar) scoop some paint out of the jar and spread over ink pad. It doesn't have to be perfect, nor do you have to cover the entire pad, just get a good puddle smeared in. (this is just like reinking your ink pads)
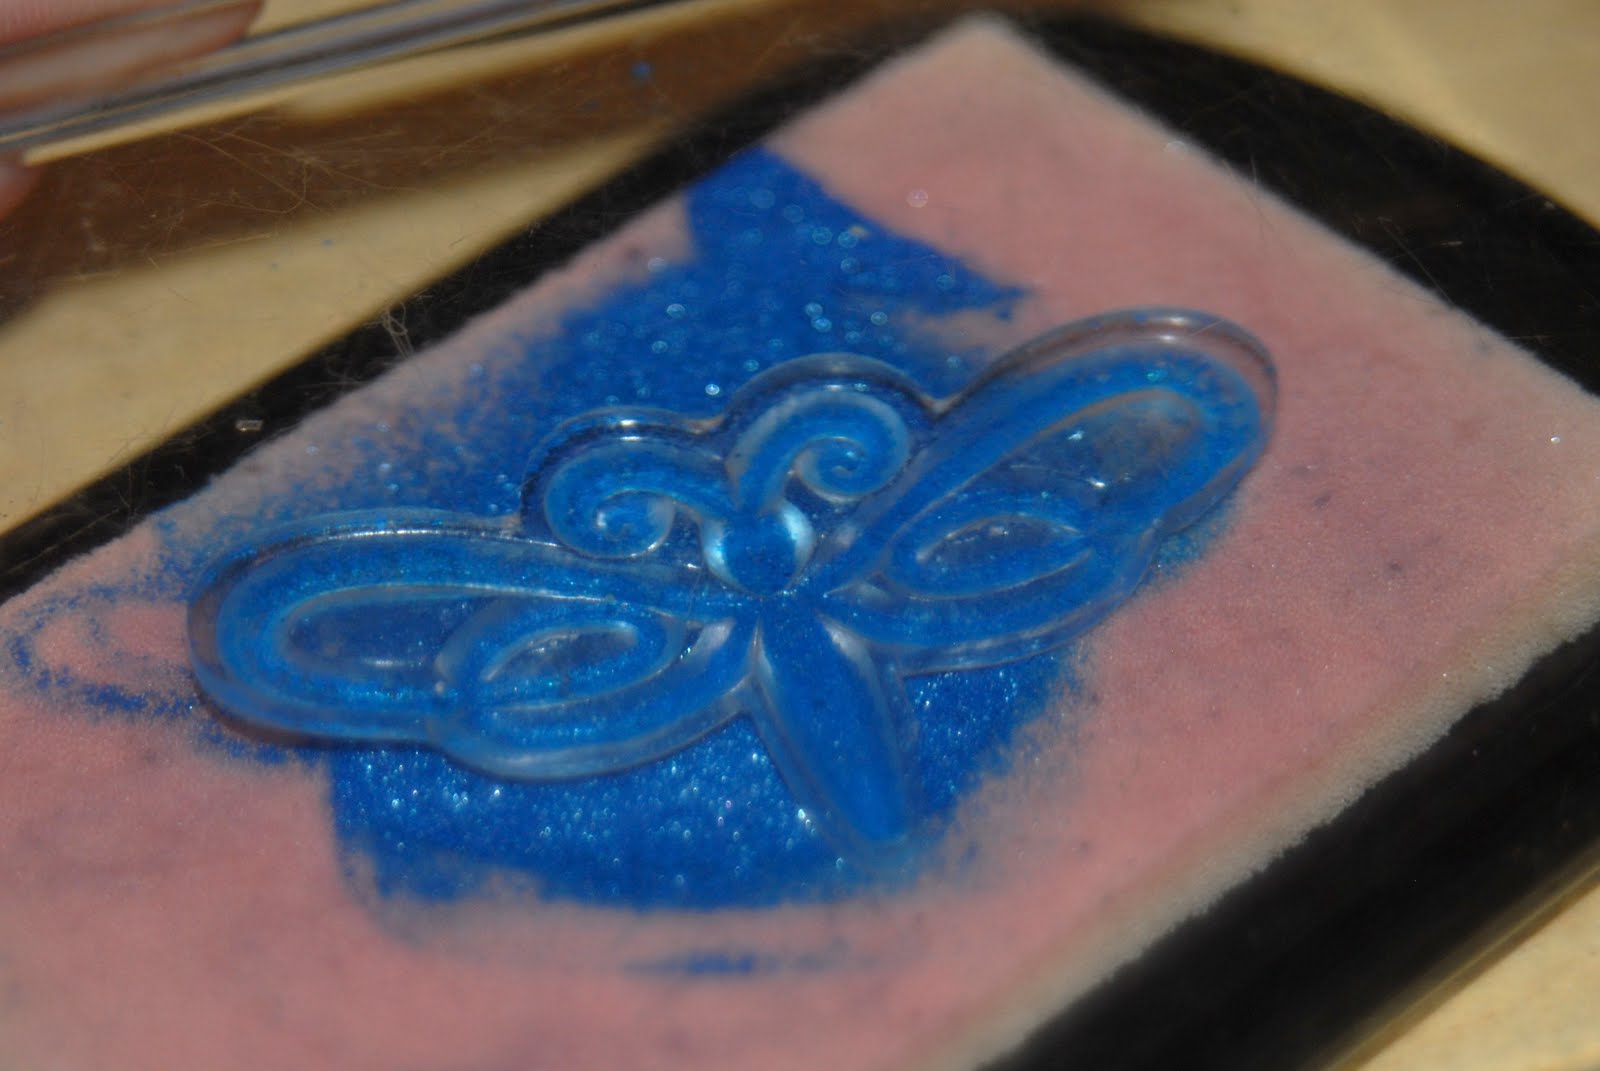
Step 8: ink up desired stamp as normal.
Step 9: Stamp like normal.
Step 10: wash stamp IMMEDIATELY after stamping. Dried paint on stamps = BAD!

Look how amazing that shimmer and color is!

To show how well this works on even delicate images, I used the same stamp pad as the dragonfly above to stamp this fancy "Thanks". I threw in the US penny to show how small the stamp is. It still turns out fabulous!
The amount of paint you load your stamp pad with will determine how long your pad will last. Just like ink, if you keep the lid on, it will stay fresh. If you find that it has dried a little, you can spritz the pad with a little water, or you can add some more fresh paint.
Want to change colors? Great! Just start back at step 1. These paints are water based, and will wash out fine.
Here is a sample project:

Paper: cheap white cardstock
Stamps: SEI "Mimosa", Fancy Pants "Pollen Dust"
Ink: VersaMark
CI Paint: Garnet (with a stamp pad)
Other: embossing powder, ribbon

Here is a close up of the flower stamped in Garnet

Even the background polka dots were stamped.
Isn't this a fun technique? So, give it a try! Next Monday, I will share with you another fun stamping technique with the CI paints in "got stamps? part 2". (I am really excited about sharing that one!!!!)
Check back tomorrow to see what Kendra has in store, and on Thursday will be another DT challenge with tons of sparkly inspiration for you all!
Have a wonderful day full of creative inspiration!
~Kassi
2 comments:
Oh I love learning new things! Thank you!!! Beautiful examples!
Great job Kassi. I'll have to try that rather then using the little daubers. TFS!
Post a Comment